Pizza Oven Lessons Learnt
Here I would like to share the things I learnt during mu build, so your built can be successful. Just remember trust yourself, keep focused and you will soon be eating lovely pizzas. I start with the two biggest things I learnt which caused me the greatest pain, and had me questioning why I was doing this.
Heat
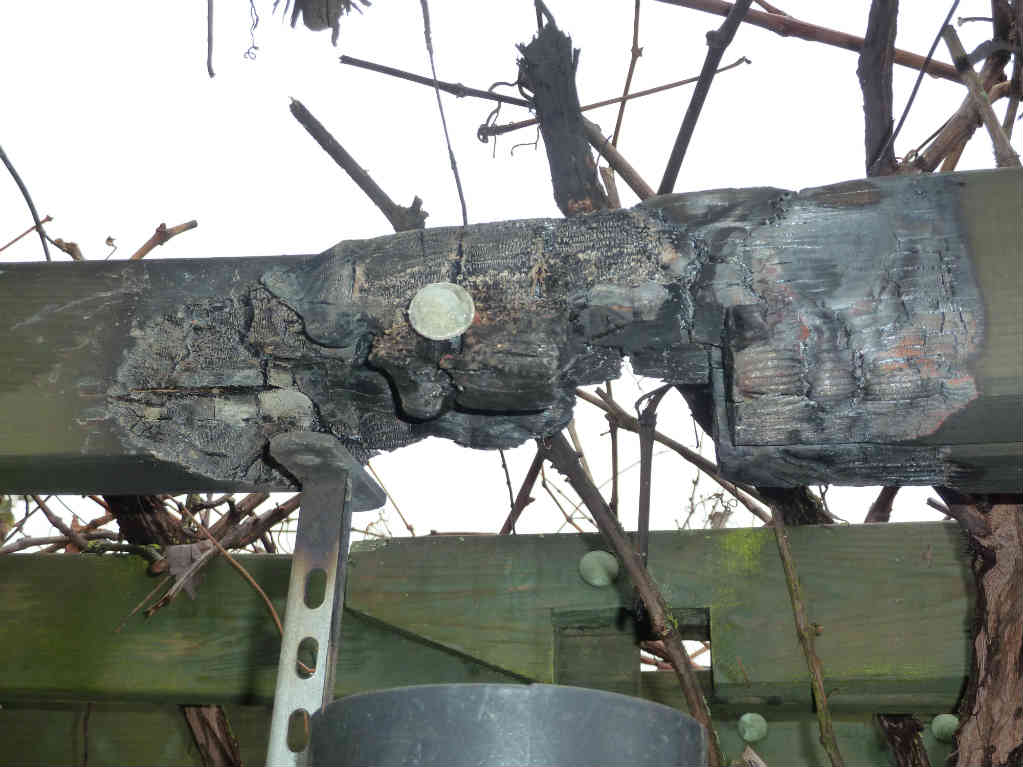
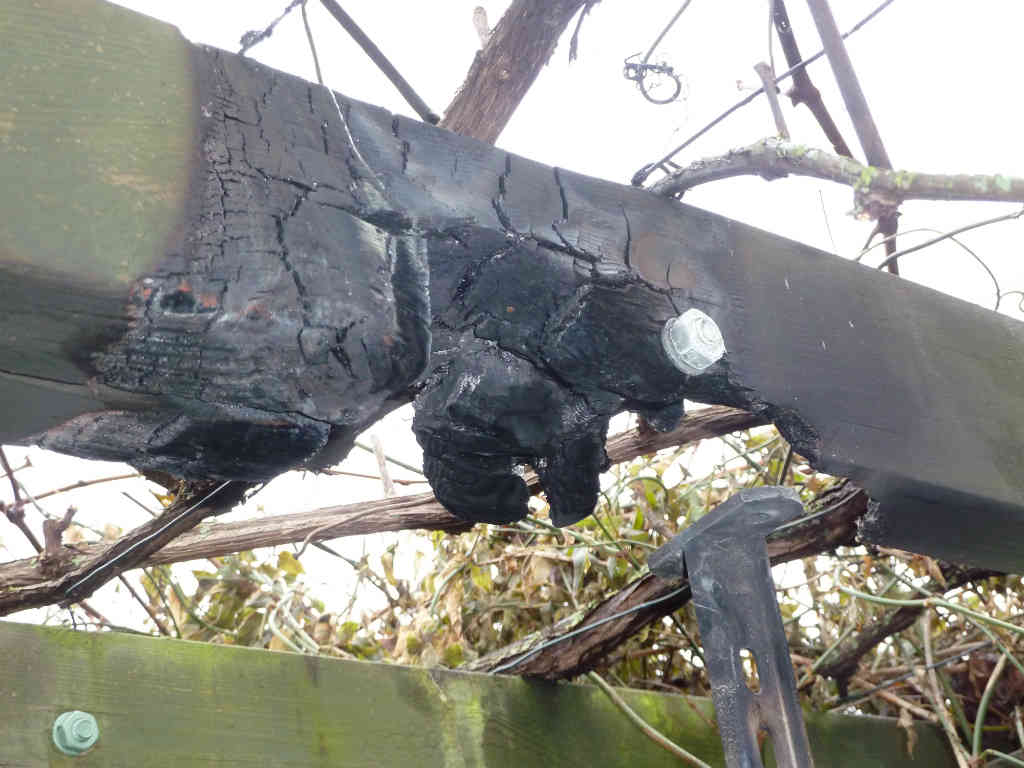
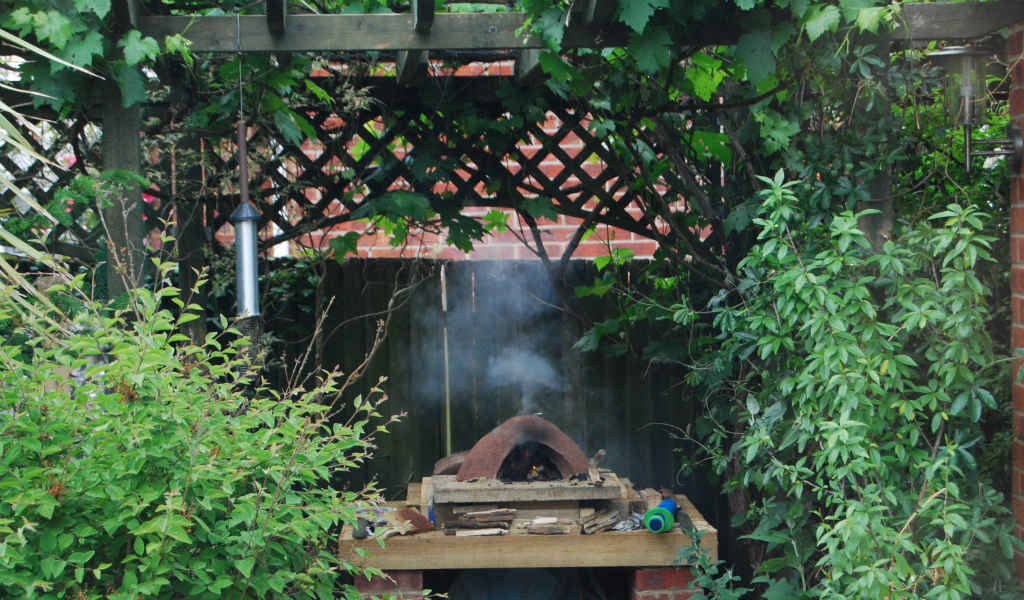
These ovens get really hot, great for cooking, but also great for a fire. It is obvious that ovens get hot, but you forget just how hot they get. You should think of it more like a kiln. Well you have already read about the disaster with the oven base, so I won’t add anymore here. But I also had a problem with the pergoda burning so make sure you have a clear area around the top of your chimney.
On a similar theme of heat, was the rapid loss of heat, and the need for good insulation. As you have read I used straw and a brick skin for insulation, but quite frankly it wasn’t good enough. It is OK for a small amount of cooking, but for a party and prolonged cooking you need good quality insulation. If I had done a proper insulated base and better insulation on the walls, I would probably still be using the clay oven today.
Protection
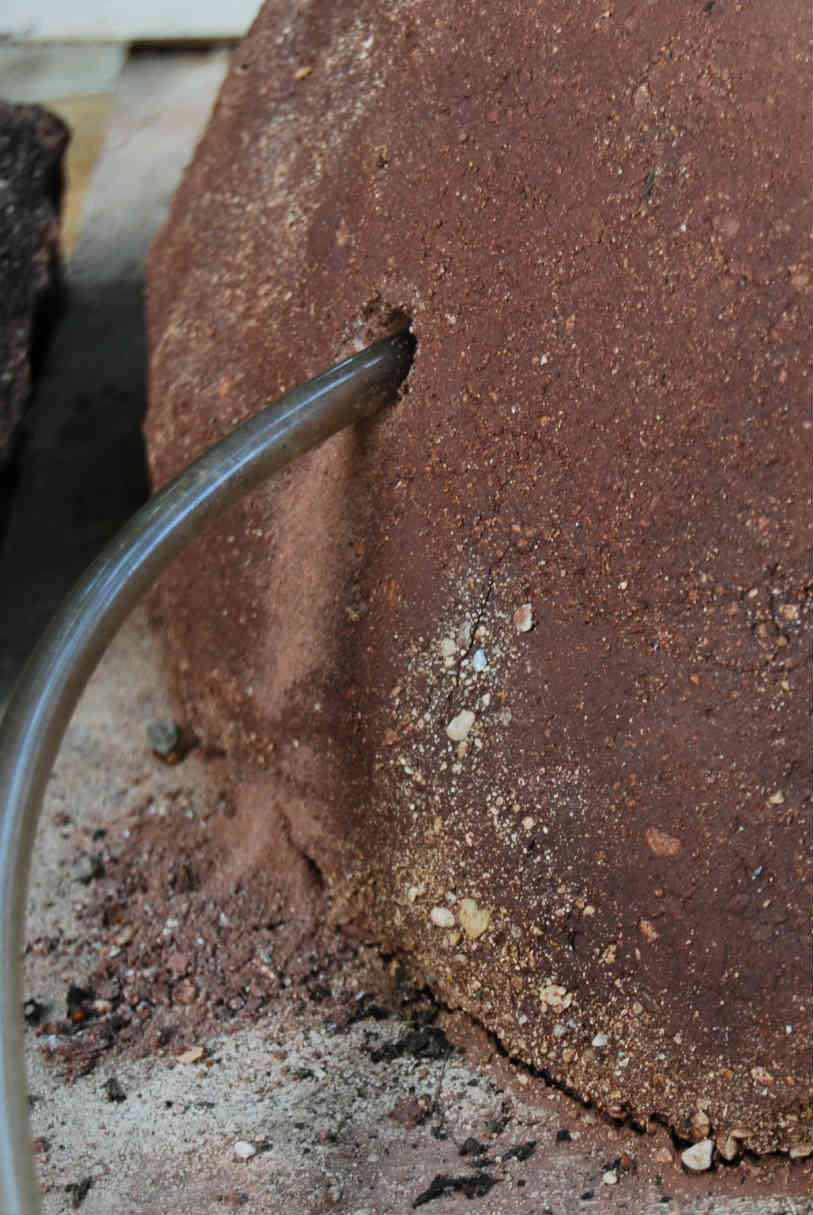
After I built my first core clay oven I had to go on holiday, so I covered the oven in a sheet of tarpaulin weighed down with bricks. When I got back from holiday I found that we had some serious storms, and the tarpaulin had been blown off and water had got to the oven. The rain had completely destroyed the oven, and I must confess I felt like crying. So always protect your oven from rain.
Muffin Oven
One thing I would highly recommend is building a prototype oven first. Not a big one, or as I used to call it a “Muffin Oven”. You don’t need to worry about the base, just use an old paving slab. Nor do you need to worry about insulation. The purpose of the Muffin Oven is to learn about clay mixtures, air flow, dome size, shape and door opening.

I have talked a lot about the clay mixture, but nothing beats a trial run. This way you can see what works for you and what mixtures bond best. You can then fire up the Muffin Oven to see your clay mixture cracks. Don’t worry the clay won’t be wasted, once you are finished break it up and put the clay in a bucket of water. Here you will learn how easily clay will go back to its old state when in contact with water. With the Muffin Oven, after a few burns I got quite a big crack and the clay bricks didn’t appear to have bonded that well. When I made the main oven I added more sand and I also made the mixture wetter.
Air Flow
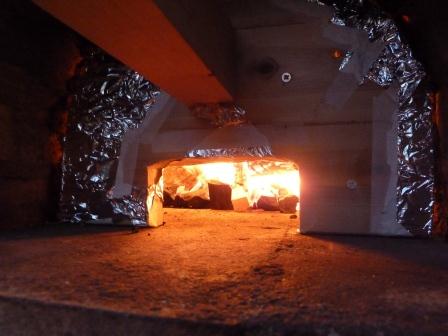
Another think I learned from the Muffin Oven, was air flow and combustion. When I built the oven I went with the recommended height, but I found I had trouble maintaining the fire. Basically the roof was so low the smoke was not flowing out and smothering the fire. I tried to alleviate the problem by drilling a small hole in the back and pumping in air via an old fish tank pump.

Unfortunately this did not resolve the problem, so when I built the final oven I built it with a higher dome. I have not had any problems with the master, but I wonder how much of that is down to the chimney I added. I can’t stress how important it is having a chimney and the draw affect. I have a tall chimney which gives a good draw and subsequent airflow over the wood. To give you an idea of how good it is, one time when I had a good fire going, I had roaring flames coming out of the chimney, and the chimney is four foot high. Do a search of rocket stove on youtube, and you can see the sort of thing I mean. Next time I build a clay oven, I will probably go for a lower dome height with a good chimney. I would also be inclined to go with a smaller diameter, and one with a damper.
You Can’t Cremate a Dead Pigeon
But that’s another story
Oven Door
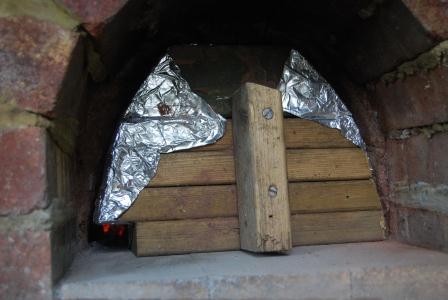
The next thing I learnt about was the need for an oven door. A bit obvious really, as you have this great big hole where all your warm air escapes. The key thing to note about using a door is you still need to allow air to flow in. I played around with various door designs, until I found the two that worked best for me. The first has a hole cut out at the bottom in the middle, and is used when I first light the fire. Typically the fire is burning nicely, but as soon as I put the door on the fire starts to roar as air is drawn in through the hole. The fire becomes more intense and the oven quickly heats up. You really need to see and hear this, so why don’t you watch the video below:
The second door is similar to the first, but the opening is smaller and on the lefthand side. This one I use when I am cooking, so the air flows over the small fire and not over the cooking pizza. Below are two pictures of the oven doors:
So what is it like living with the oven and using it on a daily basis, well you can find the answer to this here
Series Link
1. Design
2. Base
3. Oven Floor
4. Core Oven
5. Entrance & Chimney
6. Insulation
7. Protecting the Oven
8. Lessons Learnt
9. Living with the Oven
10. Conclusion and what’s next
Recent Comments