How to make a small Tandoor out of flower pots
Here I am going to show you how to build this beautifully elegant small tandoori oven. You might have seen people building a tandoor out of dustbins with fire bricks, and this was my starting point for the design. I liked the concept but wanted something that would look more attractive in the garden, and hence I came up with the terracotta pot design. This really is simple, three pots, two small ones that fit in a larger pot with the bottom cut of the bottom of one pot. Then insulation to keep the oven hot, and that is it. The hardest part is cutting the bottom off, and that is because it is manual task. This oven is so quick and simple to make, but more importantly it works. If you don’t believe me why don’t you quickly watch my video at the bottom of this page.
Tandoor Parts
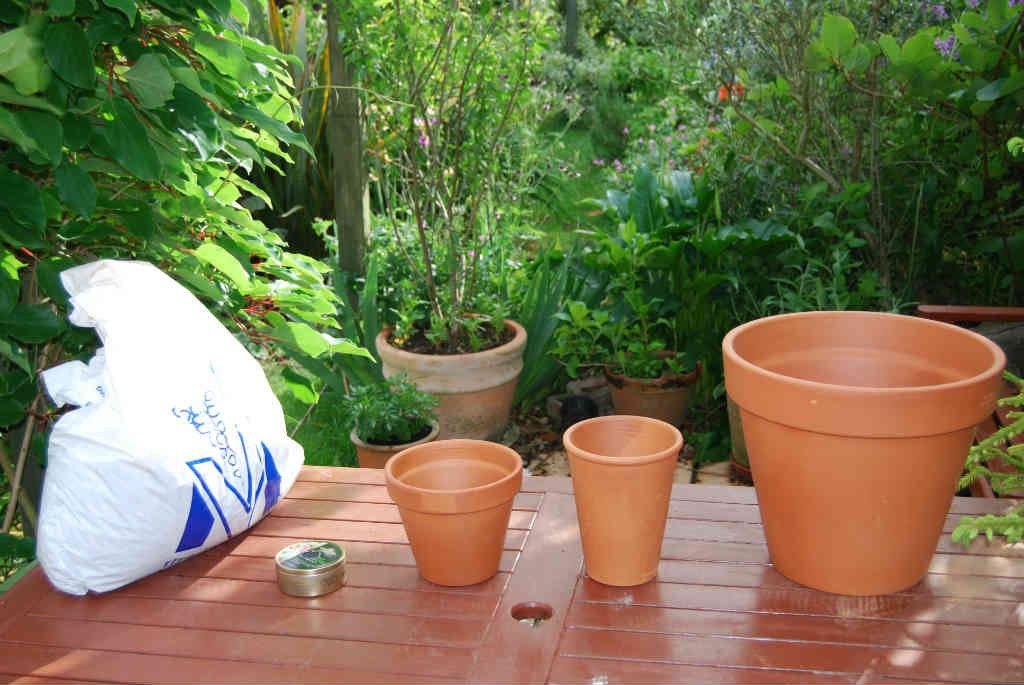
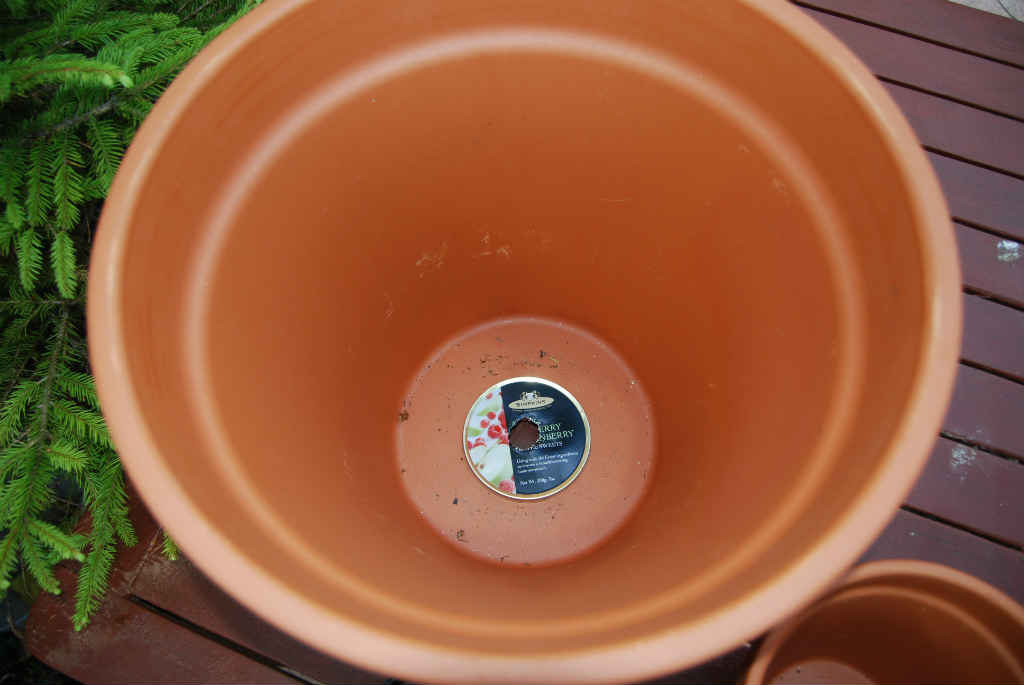
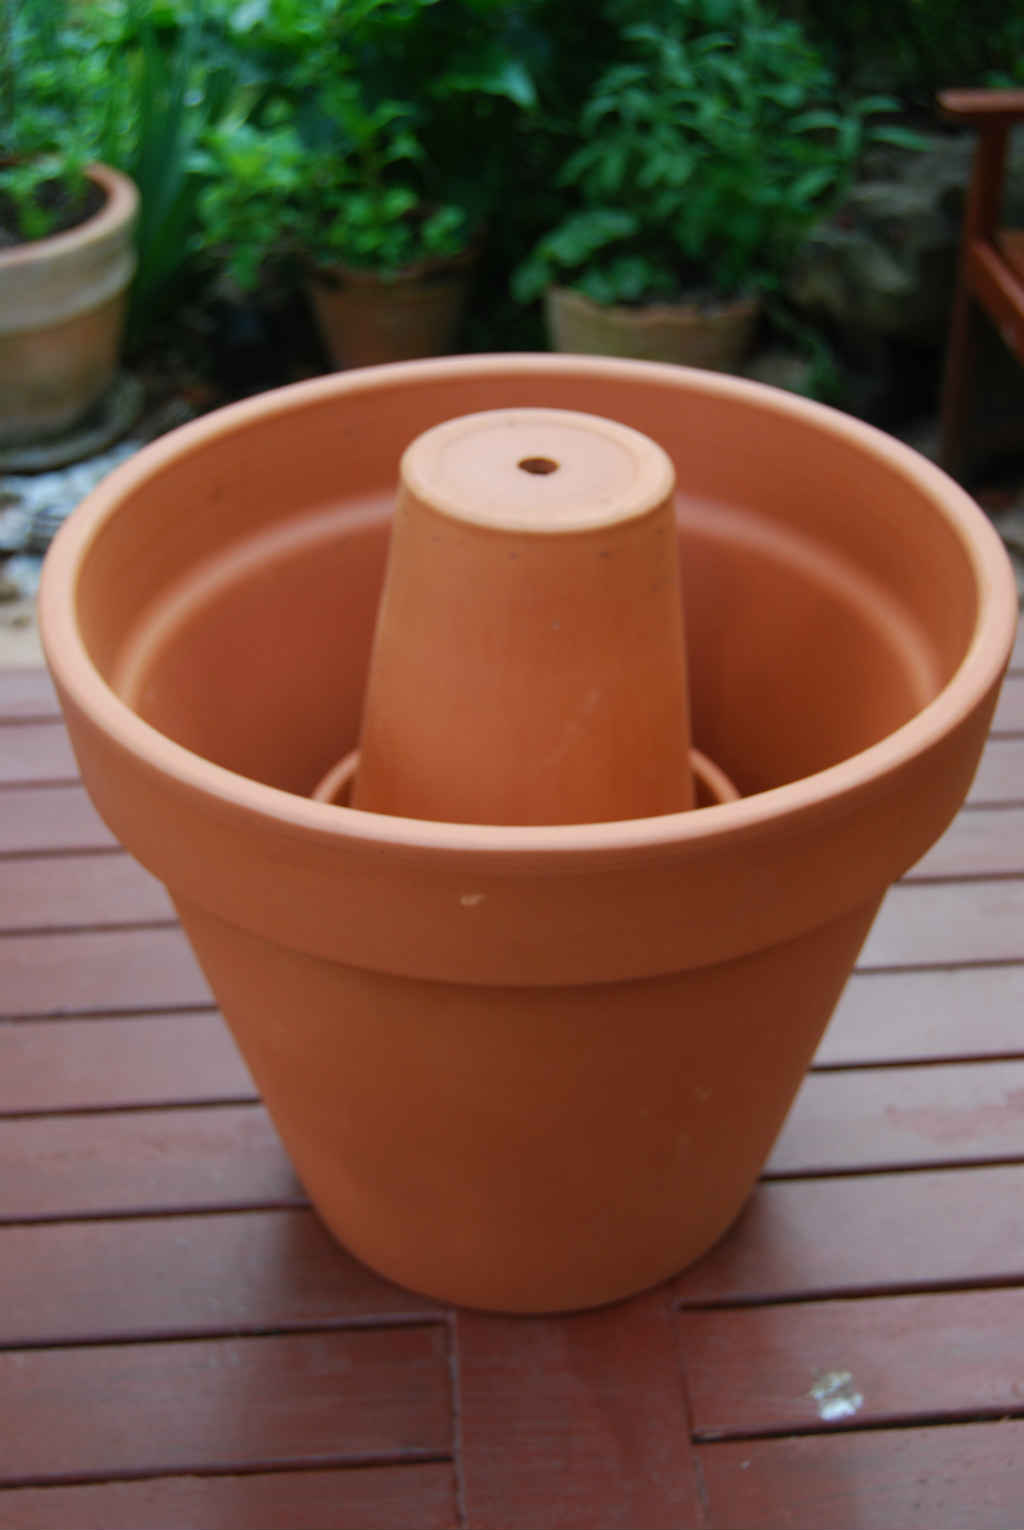
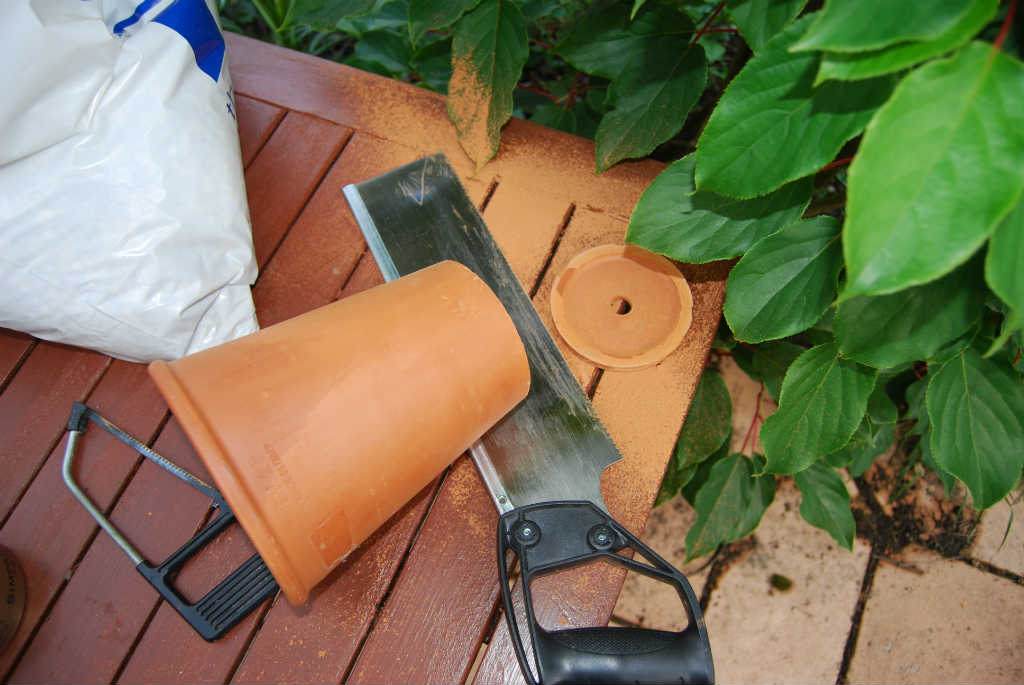
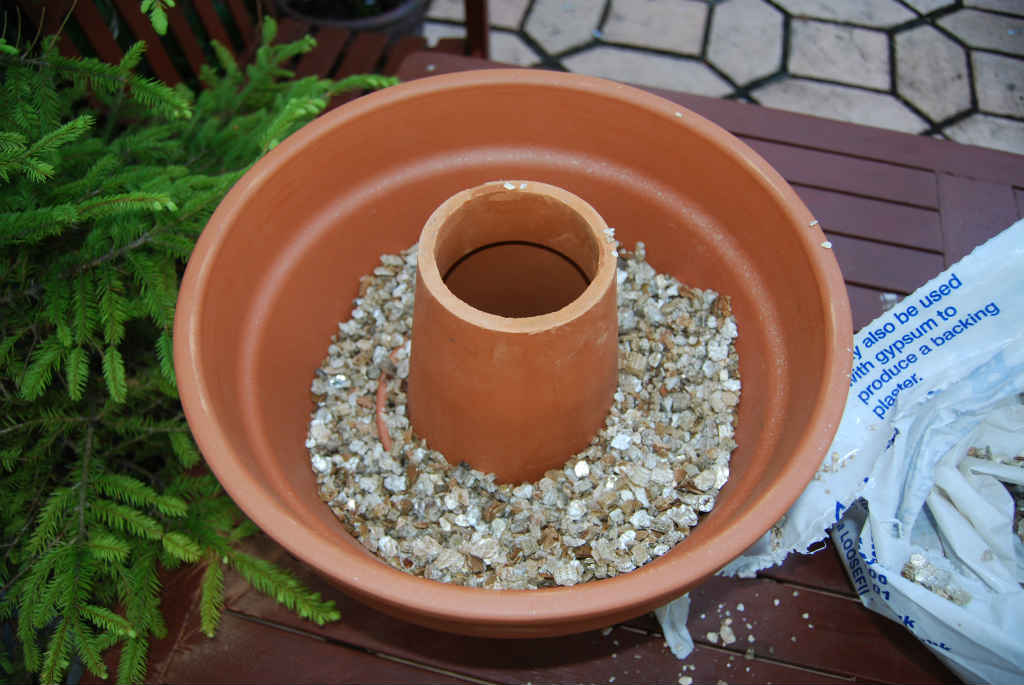
Now to build the oven you need to go to your local garden or DIY store, and buy three pots. Decide on the large outer pot first, your decision process should revolve around price and what looks good to you. Now find two smaller pots that will fit in side. Note these pots will stand on each other so you don’t want then too tall. Also you need yo leave room for insulation between the inner and outer pots. For insulation I used vermiculite which you can find at builders merchants, fire place store as well as some garden centers and DIY stores. The last thing we need is something to keep the bottom inner pot from touching the bottom outer pot. This is to stop heat transfer and risk of cracking the outer pot. In this build I used an out sweet tin, but in subsequent builds I have used a a clay ring made from an old terracotta pot.
Building Your Tandoor
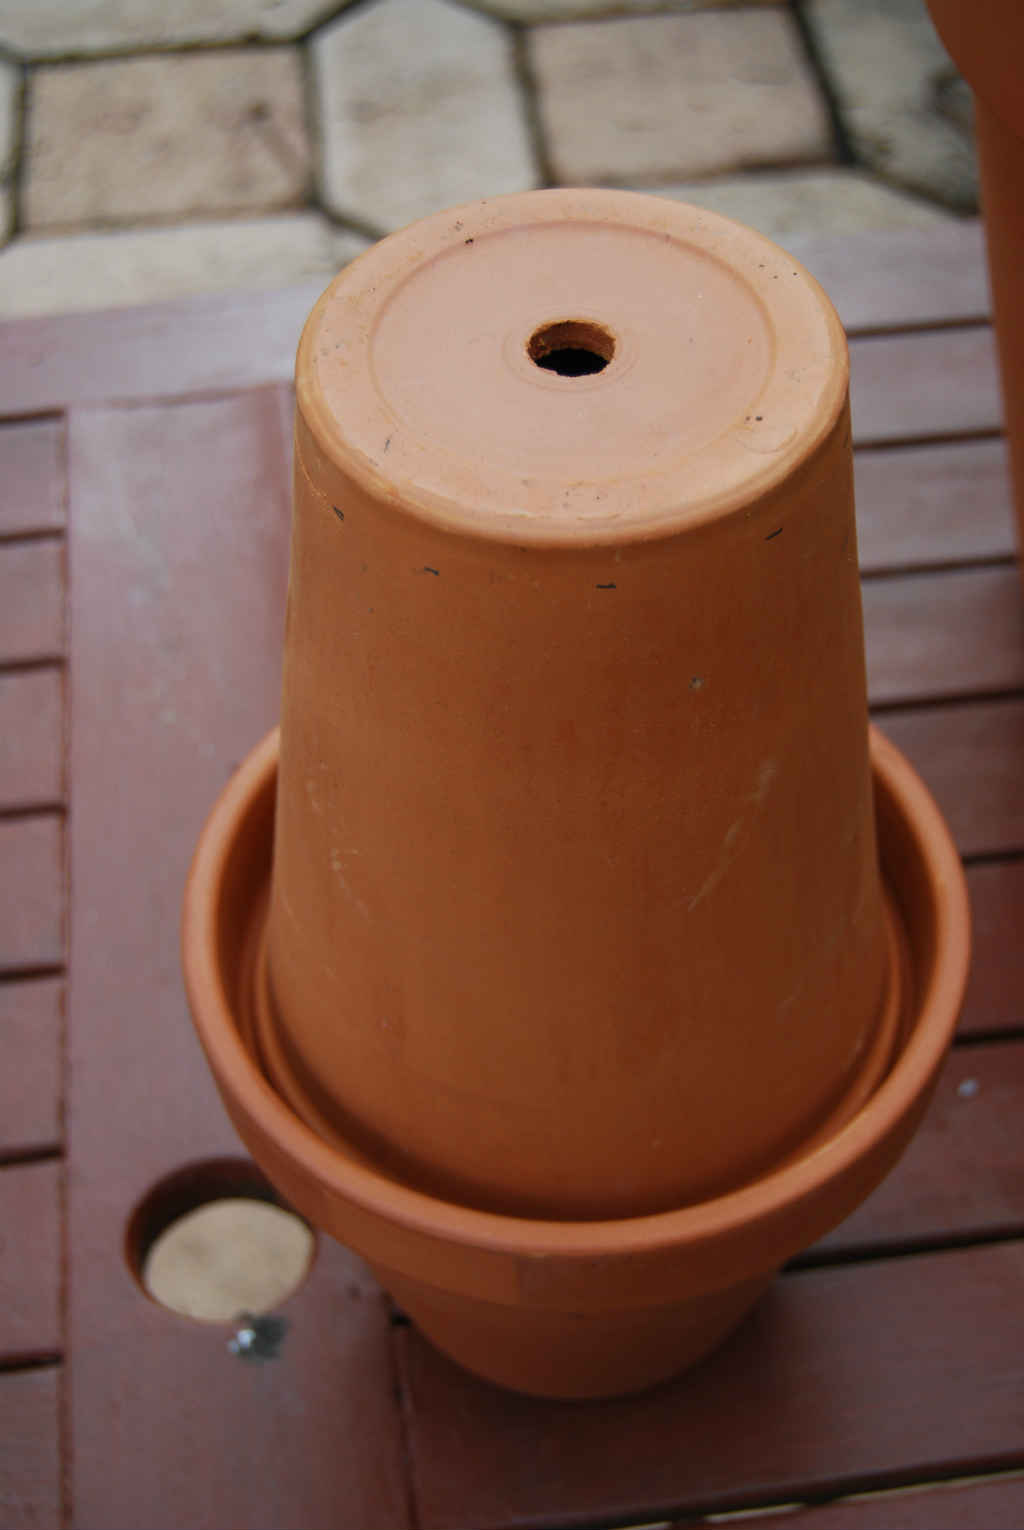
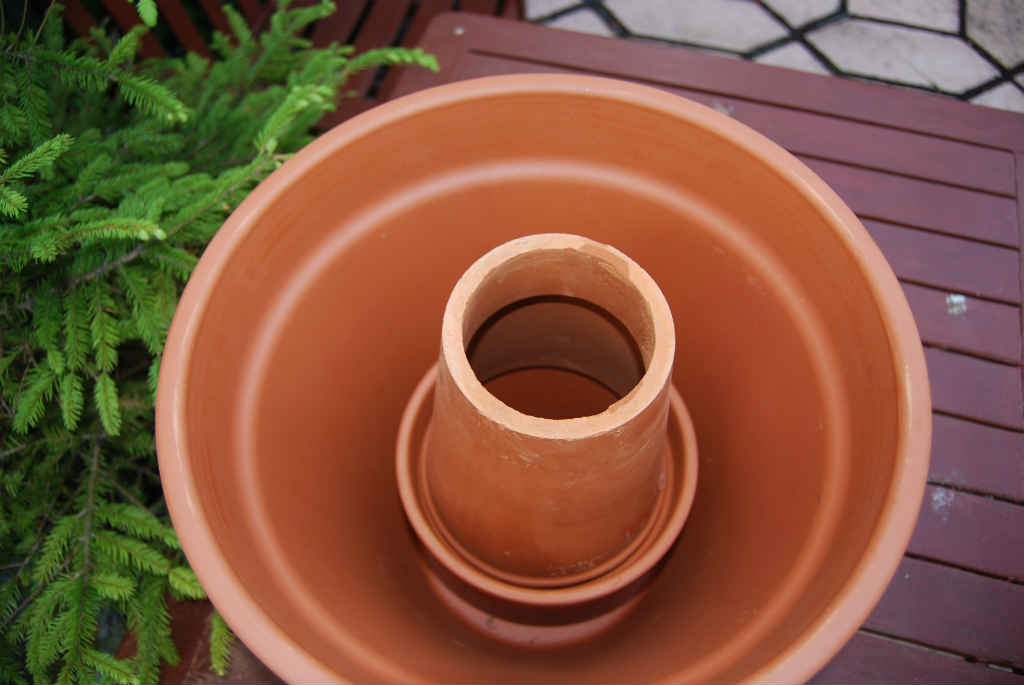
When it comes to the build put the first of your inner pots and place it inside the the larger outer pot on top of your sweet tin. Now take the second inner pot and cut off the bottom. For this build I used an old saw which did the job, but did blunt the saw. Future builds I have used an angle grinder. After sawing the bottom off, put it upside down on top of the first inner pot. Finally fill the gap between the inner and outer pots with your insulation, and that is it! I said it was quick and simple.
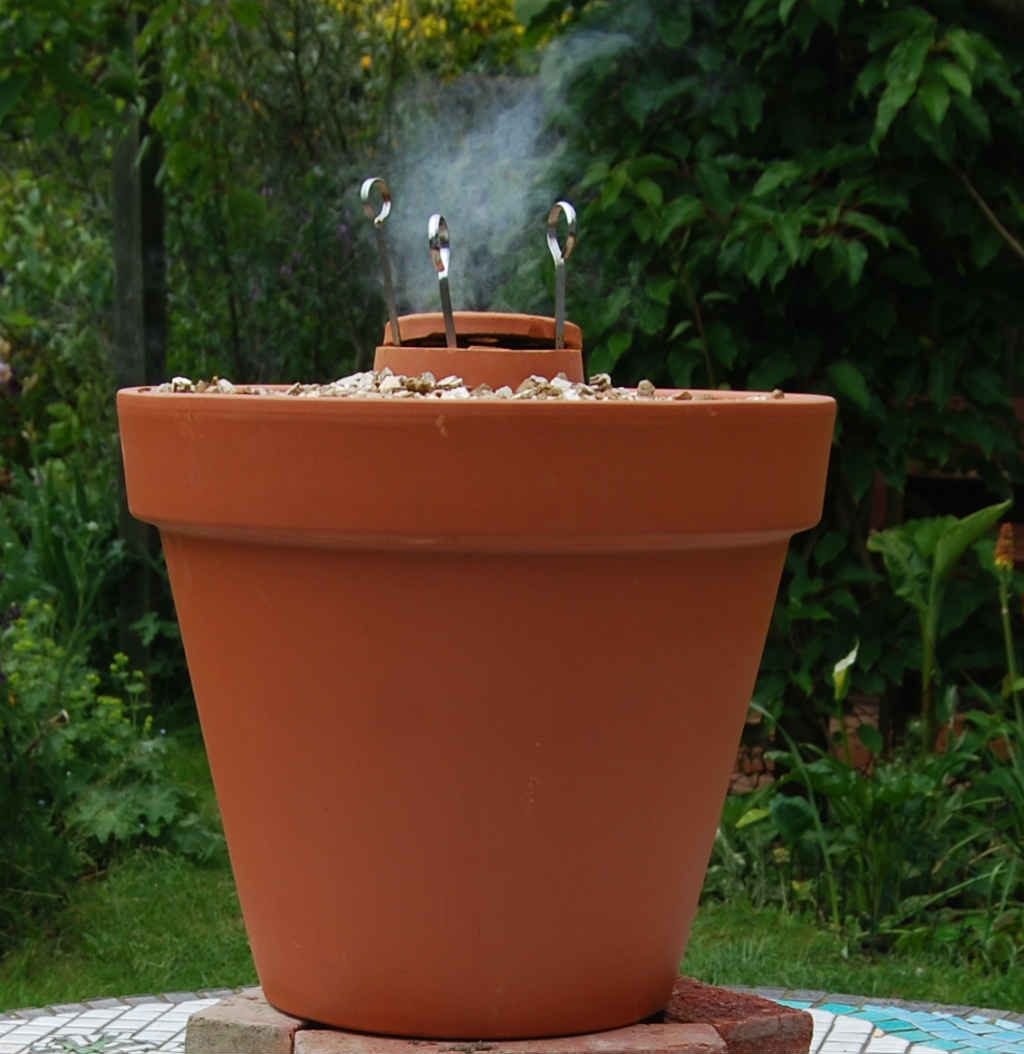
Now you need to light your new Tandoor and start cooking. This is where the fun starts and you learn to use your oven, and not to burn your food. It is hard to give advice here as everyone’s tandoori oven is different. You won’t need much charcoal as this is far more efficient than your standard BBQ. Also lighting your oven depends on the airflow from your oven. In my example I use the oven raised on bricks so airflow is improved, and I also start with the cap on. I find this gives me the perfect airflow, and once lit I take the cap off.

Small Tandoor Oven Pros
- Easy to make – Yeah just watch the video
- Easy to source pots of this size, and also they are not too expensive
- Looks elegant, and makes a nice feature in your garden
- Easy to move around the garden or take to your friends
- Very efficient and uses hardly any charcoal
Small Tandoor Oven Cons
- Can be a little bit trickier to light than a larger oven
- Cleaning can be trickier due to small opening at the top and small hole at the bottom
- As skewers go in nearly perpendicular food can slide off.
- Also the meat at the bottom can burn. Recommend using a potato at the bottom of the skewer to fix this and the last problem.
Small Tandoor Lessons Learnt
- Brian gave me a good tip, and that was to put gravel on top of the vermiculite to stop it blowing away. And don’t use any old gravel, but use ornamental or pick a colour that matches your patio. I have used a plum coloured slate, the same I have used around my palms.
- Food cooks fast. Yes I know that is obvious, because that is the point of a Tandoor and getting up to high temperatures. I say this as you forget, or can’t believe it has cooked that fats and land up leaving it in longer so the meat goes dry.
- There is no lead in my pots. I was asked by Nick if there has been an issue with lead in the pot, and if so could you cook naan on the walls. Now I was pretty sure there is no lead in the unglazed pot, why should there be? I also did a lot of research on the internet, and the consensus was, this was not an issue. But the trouble is Nick had planted this nagging concern in my head, and I had to be sure this wasn’t a problem. So I invested in a lead testing kit, and proved their is no lead in my terracotta pots. You can see a video I posted on this at the bottom of this page.
- Finally I have had lots of questions on the small hole at the bottom, and how do I clean out the Tandoor. First of all the hole is there to let air in so the charcoal can burn. It is also important to put a small dish or tray underneath to catch any burning embers that drop out. They are not going to be big, as the hole is small. As for cleaning out the Tandoor, well that is easy. There is not much charcoal left after a burn, so I use a stick from above to guide the ash though the hole onto the tray below. You could put your hand in the oven to clean out the ash, but what’s the point, you are only going to get dirty. I should point out that I only do the cleaning once the oven is cold, but I didn’t need to tell you that! Again a video on this at the bottom of the page
Small Tandoor Conclusion
This is a special oven to me as it is the one that got me hooked on tandoor ovens and cooking more in the garden. I don’t use it anymore, not because it is no good, but I have scaled up and the medium tandoor is my preferred choice.
What more can I say about the small tandoor, except you can make one in 10 minutes – so what is stopping you? If you haven’t watched the video yet, then you view it below with the others.
Recent Comments