How to build a Pompeii Oven – Base and Oven Floor
I decided to stick with the original plinth and wooden base– NO! I hear you say, “It is made of wood and will burn”. True, but the wooden top was still sound, even if it did have a hole burnt through it. More importantly I was going to do a proper job with insulation. This time I was going to use insulated fireboard under the bricks, the thickest I could find. I also decided to put a thick layer of vermiculite as a sandwich between the wood and the insulated fireboard.
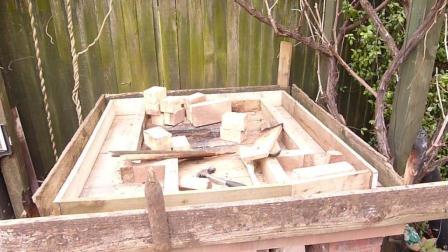
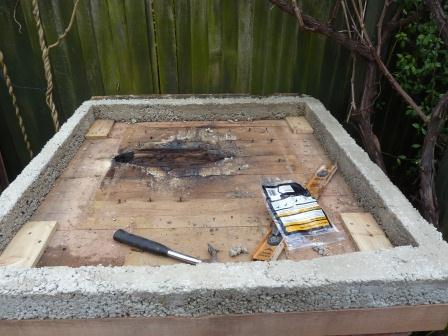
First I built a simple frame around the top of the plinth. The idea being to pour concrete into the frame to create a simple retaining wall for the vermiculite. Once the concrete had set and the wood frame removed, I had nice solid walls.
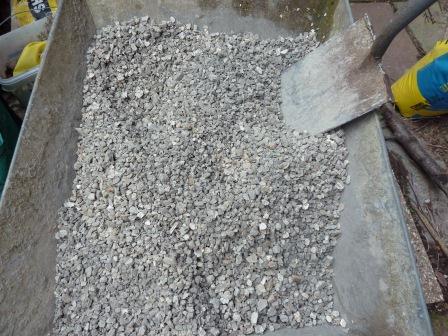
Now the Vermiculite mix, but first here is a tip for gardeners. A 10L bag of vermiculite cost £5 at the garden centre. A 100L bag from a fire stove store cost £19 – go figure!
For this part I used 200L of vermiculate to create an insulation base of 6”. I started with a dry mix of 5 parts vermiculite to 1 part Portland cement. I then added water to make a sticky porridge mix and then added inside the frame. Now a word of warning, as all gardeners know vermiculite holds water, so a think insulated base of 6” takes a long time to dry.
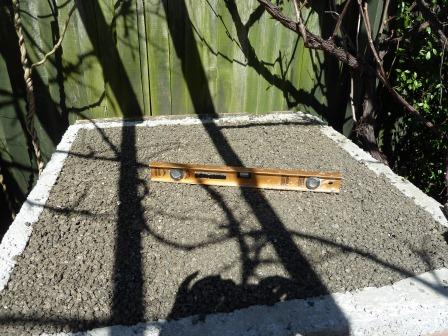
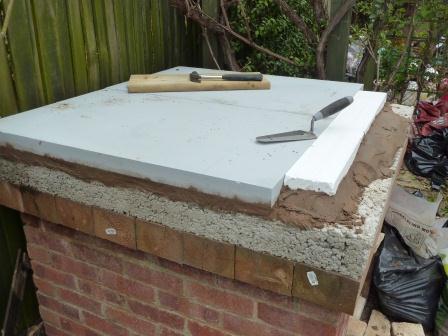
Next I set several Calcium Silicate boards on top of the vermiculite to create another fireproof insulation level. I got the thickest boards I could find with a 1000C max service temperature. Now came the simple bit, I just bedded it on top of a mortar mix, making sure I kept everything level of course. So that is it, one thick insulation layer.

Now it was time to build the oven with refractory firebricks, which once again I brought from Vitcas. First you need to decide are you going to build the side wall on top of the oven floor or around it. Building on top is the simple solution, but building around gives you better insulation. The only problem with the second option, is you need to cut the bricks on the oven floor
so they fit snug inside the walls. Now you are thinking I went for the simpler option, but not this time. I was always going to have to cut bricks for the walls and roof, so it made sense to cut the base as well.
I should point out that I was using firebricks for the base, walls and dome. The point of using firebricks is to soak up and hold the heat from the fire. Then a good layer of insulation on top to keep the heat in.
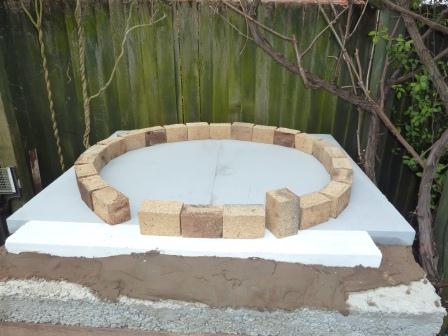
To decide the floor size, I simply laid a series of bricks where I saw the wall would be and then drew in pencil on the fireboard. I only had a limited space and I needed to make the floor as large as possible, leaving 3” on the outside edge of the wall for insulation and final protection layer. You might think 3” is a bit small for the insulation and protection layer, and I
did worry about this myself, but I wanted to make the cooking area as large as possible. No need to worry thou, with good quality insulation material 3” was sufficient. After an evening of cooking you can touch the side of the oven and not feel any heat. I mention about wanting to make the cooking floor as large as possible, well that was the best decision I made. Having a lot more space to cook with makes things so much easier. You can also cook more than one item at a time, and also have a good fire going. I look back at my old oven and wonder how I ever managed to cook in such a small space.
Once I had the shape of the oven floor drawn, I laid my fire bricks on top of this in a herringbone pattern.
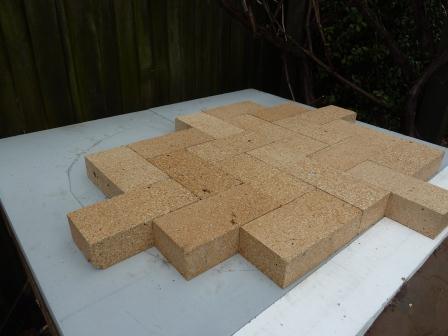
I should say that when I brought my original fire bricks from Vitcas, they were perfectly straight with good right angles. The set for this oven were not so good, which meant I had a lot of gaps in my herringbone oven floor.
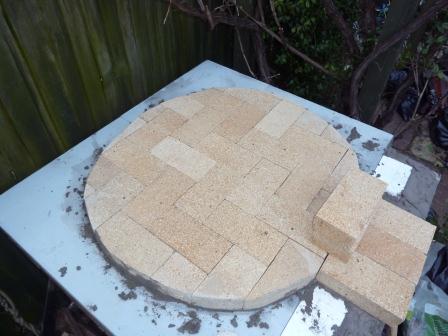
Now came the fun part of cutting the bricks and for this I used an angle grinder with a diamond cutting wheel. A word of warning this is a very messy job, with dust everywhere. Just make sure your wife hasn’t put the washing out or you will be in the Dog House. I was able to do all my cutting with a small angle grinder with a 116mm disk. Hopefully you already have an angle grinder, or you could easily buy one. I always find Tim Arnold is a good person to borrow tools off. Once all the bricks were cut, I set the floor on a bed of one part fire cement and one part sand mix.

That is the end of this section, in the next I deal with building the walls and dome.
Series Links
1. Introduction
2. Base
3. Naples Dome
4. Access & Chimney
5. Insulation
6. Outer Layer
7. Best Clothes
Recent Comments