Protecting your Pizza Oven
Now my original plan had been to add another layer of clay and turn my oven into a living or practical sculpture. I had planned to sculpture a hippopotamus, OK don’t laugh, think about it, the shape makes perfect sense. Basically the round part of the oven would have been the body and a yawning mouth would have been the entrance with the smoke coming out of it nostrels.
I was then going to add a simple wooden canopy to keep the rain off. Well I soon realised the base was not big enough to hold such a structure. Then tragedy struck and I lost my original muffin oven and first main oven after heavy rainfall. It is always amazing that an oven that appears to be rock hard can revert back to mushy clay after being subjected to rain, just see the pics below
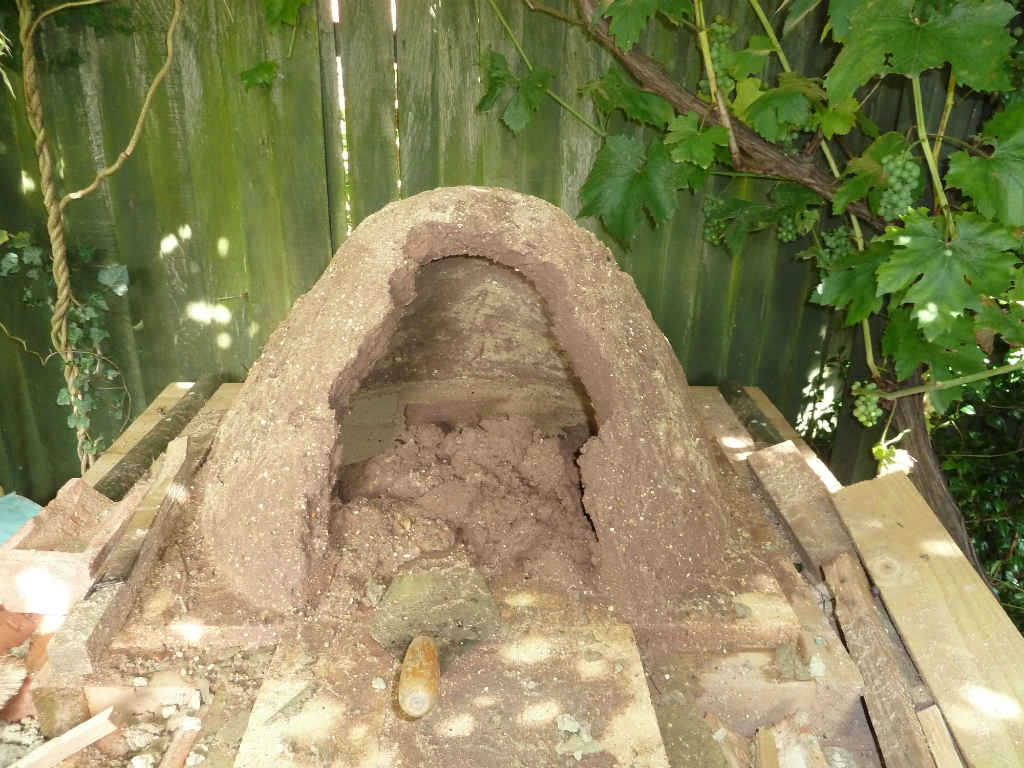
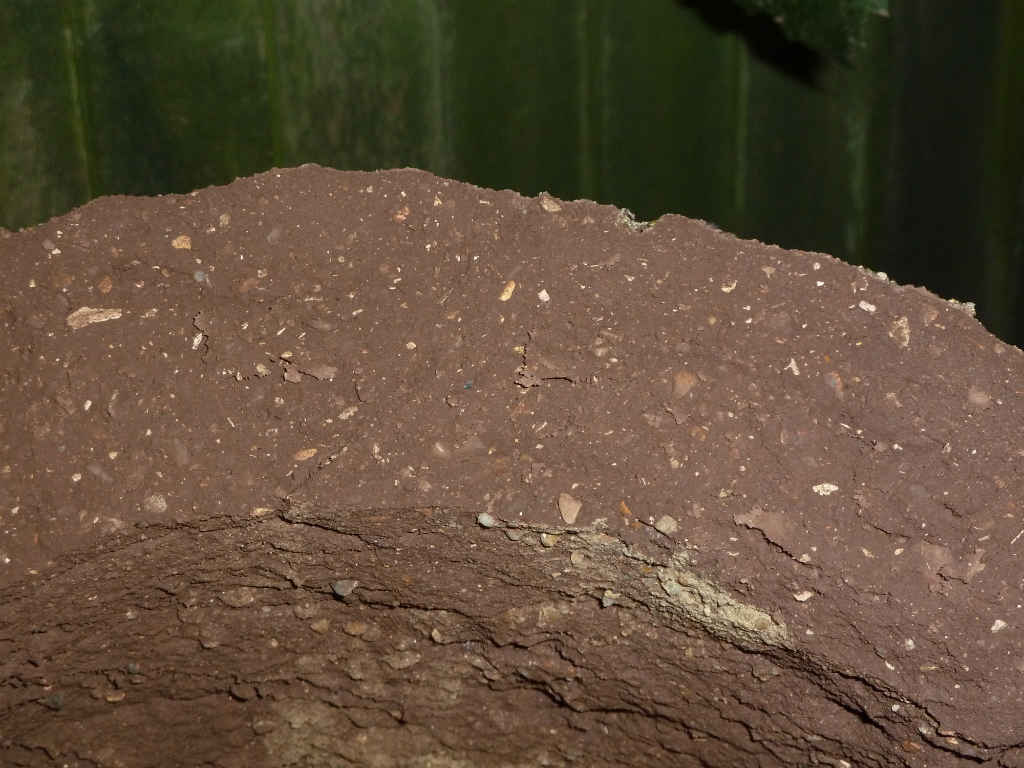
picture
It was clear I needed good protection, so I decided to cover the whole oven in bricks. I still had loads of bricks hanging around, which I cut down to 3” and then used these to cover the whole with mortar. Made total sense, clear up more bricks from the garden, adds to the insulation and protects the core oven. It is at this point that I wished I had put vermiculite as an extra insulation layer between my clay/straw insulation and the bricks. Another reason for adding the bricks, was I thought it made the oven look attractive, and in keeping with the house.
I will be honest, when I started covering the oven I didn’t have a design plan. I just mixed up the mortar, and started placing the bricks against the oven. I think the effect is really good.
When I started to brick the outside, I was concerned how long the inner clay liner would last. If it cracked or fell apart, then the oven would be ruined and I would have to remove the bricks. Then people who had never had a clay oven would give you advice that the clay would crack in the winter ice, or if heated too quickly from cold it would crack. My motto is don’t worry about it, just get on and do it. We have a tendency to procrastinate, worrying about what could go wrong and land up not doing anything.
Two years later and two winters, the protection has done its job, as the clay oven part is in perfect condition with no cracks. My problem came with the base.
Any questions on this part of the build or if you want to share your experiences with a similar build, then use this link contact or select the contact in the top right hand corner. You are now ready to start using your oven, but what have I learnt during this build.
Series Link
1. Design
2. Base
3. Oven Floor
4. Core Oven
5. Entrance & Chimney
6. Insulation
7. Protecting the Oven
8. Lessons Learnt
9. Living with the Oven
10. Conclusion and what’s next
Recent Comments