Insulating your Clay Pizza Oven
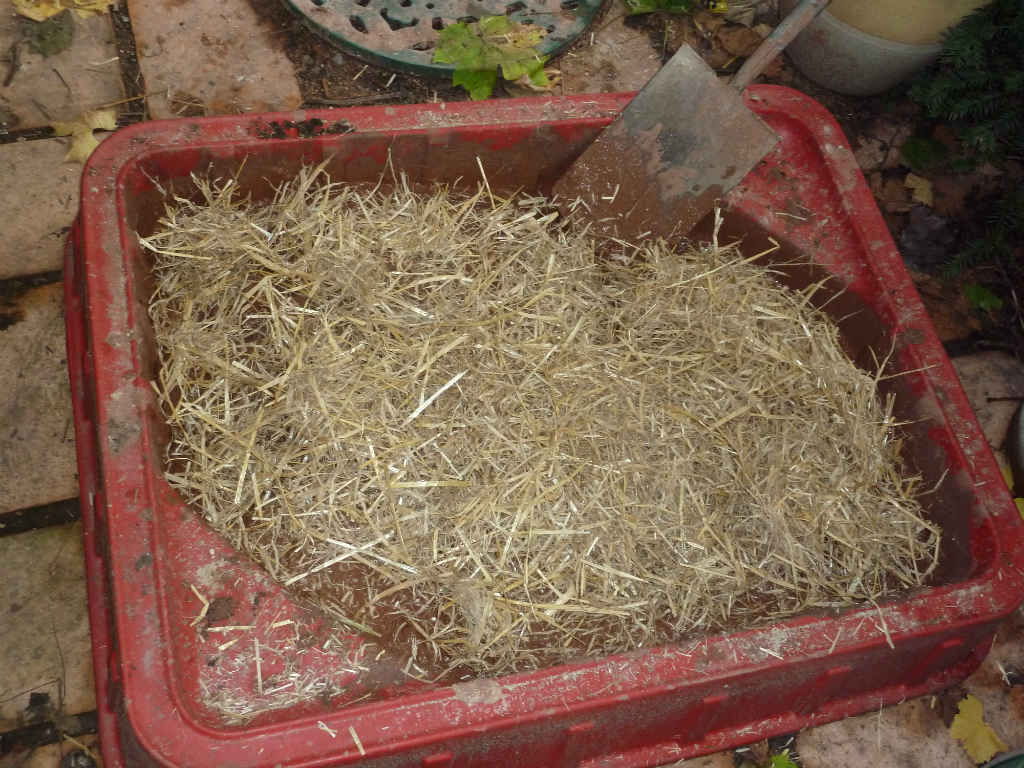
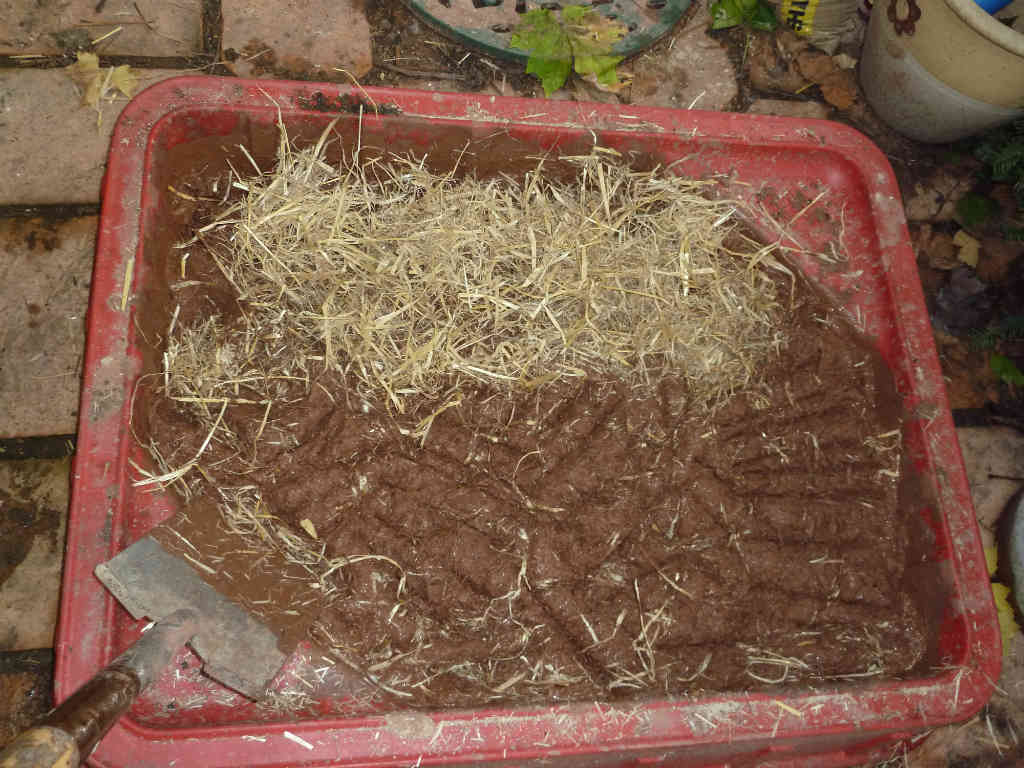
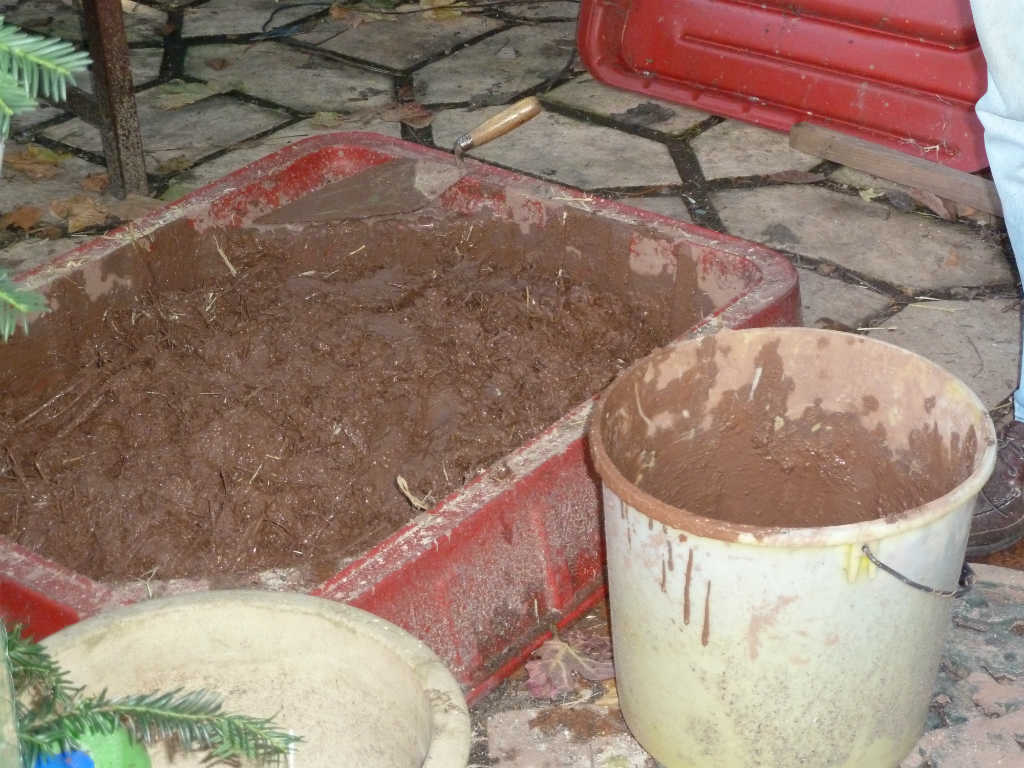
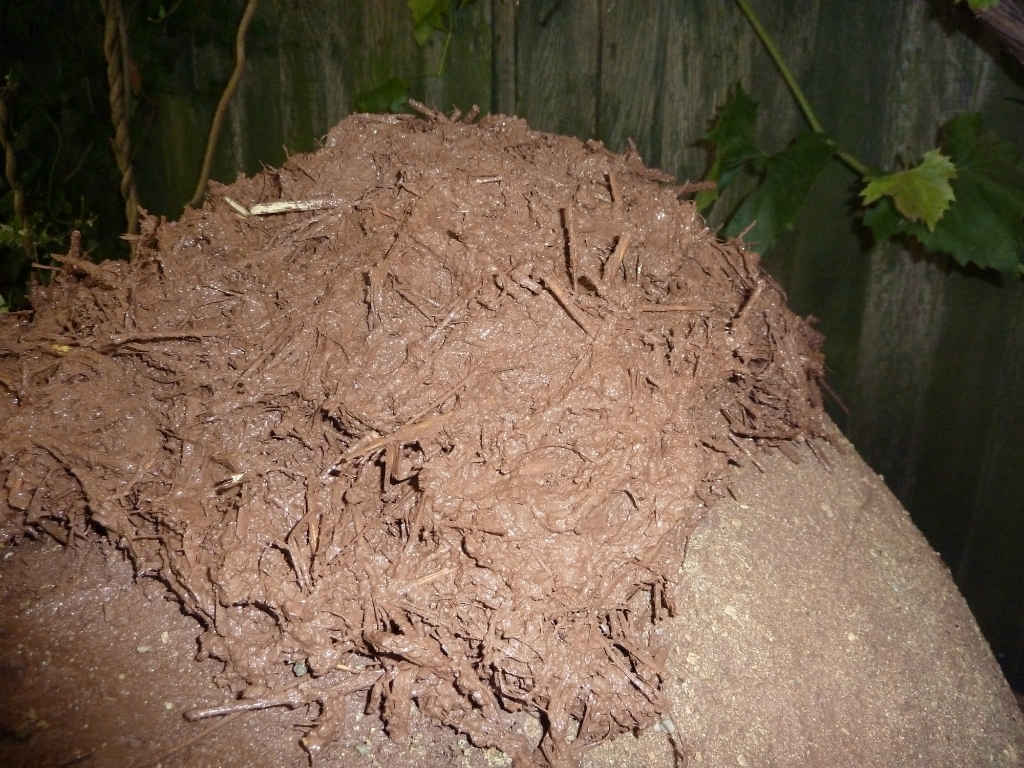 The next stage in the build is insulating your oven. Your clay oven is no different to your kitchen oven, it needs insulation to operate efficiently. Your first thoughts might be classic insulation foil, but I wanted my oven to be able to breath (apparently it is good for bread baking, not that I have done any research into it). I decided to do it in the old tried and tested method and use a straw insulation mix. Which is basically done by mixing in lots of straw into clay. For the best straw insulation mix I used the same clay mix as before, but this time I made it a lot wetter. For this mix I would definitely recommend using a sand pit and a garden spade to mix it all in. I then got a big bag of compressed straw and started mixing it in. When you start, you think this is never going to mix in, but you will be surprised how it all disappears. Once mixed in, you can’t see any beige from the straw, you are now ready to cover the oven.
I placed two layers of insulation, each around 2” thick onto the oven by just pulling out chunks from the mixture and laying it on top of the oven. It is really quick and easy to cover the oven, as the straw in the mixture knits together really well, I suppose a bit like Velcro. Also you don’t have to worry about air in the mixture. After I had finished I left it for another 24hrs to dry. Note I always covered the oven overnight to protect it, see lessons learnt on what happens if you don’t. OK, you know what I am going to say now, time to fire the oven up again to fully dry out the insulation layer.
The next section in this series is the protection of the oven which can be found here.
Series Link
1. Design
2. Base
3. Oven Floor
4. Core Oven
5. Entrance & Chimney
6. Insulation
7. Protecting the Oven
8. Lessons Learnt
9. Living with the Oven
10. Conclusion and what’s next
Recent Comments