Build your own Clay Pizza Oven – Entrance & Chimney
We now have an oven and we could start cooking in it, but we really need to improve the efficiency of the oven. The first thing we will address is fire combustion and making sure your wood burns hot and efficient. Checkout the lessons learnt section which talks about the combustion flows.
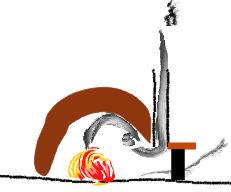
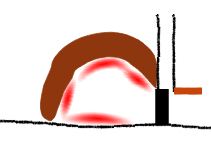
 I really recommend building an entrance and adding a chimney. Apart from looking pretty It really improves the performance of the oven, this is shown in the three simple diagrams below, The first diagram shows how the entrance and chimney improve the air flow, Fresh air comes in through the entrance and really stokes the fire up. The combusted flumes are drawn to the top of the oven and then swept out through the chimney, with neither of the airflows mixing. The second diagram shows how you can now start using doors to improve combustion even more and keep more heat in. In the second diagram I have a door with an opening at the bottom which allows fresh air to still come in, but enables me to keep the temperature high in the oven for Pizza. You should hear the oven roar when I use this door. The third diagram shows how you can move the door forward and seal the oven and block off the chimney. A lot of heat is lost out of the chimney. Note you wouldn’t have a fire burning in the oven at this time, and this method is typically used for cooking something such as a slow roast lamb ……. Mmmmm
-

- maximum airflow

-
- airflow via door
-
- oven sealed
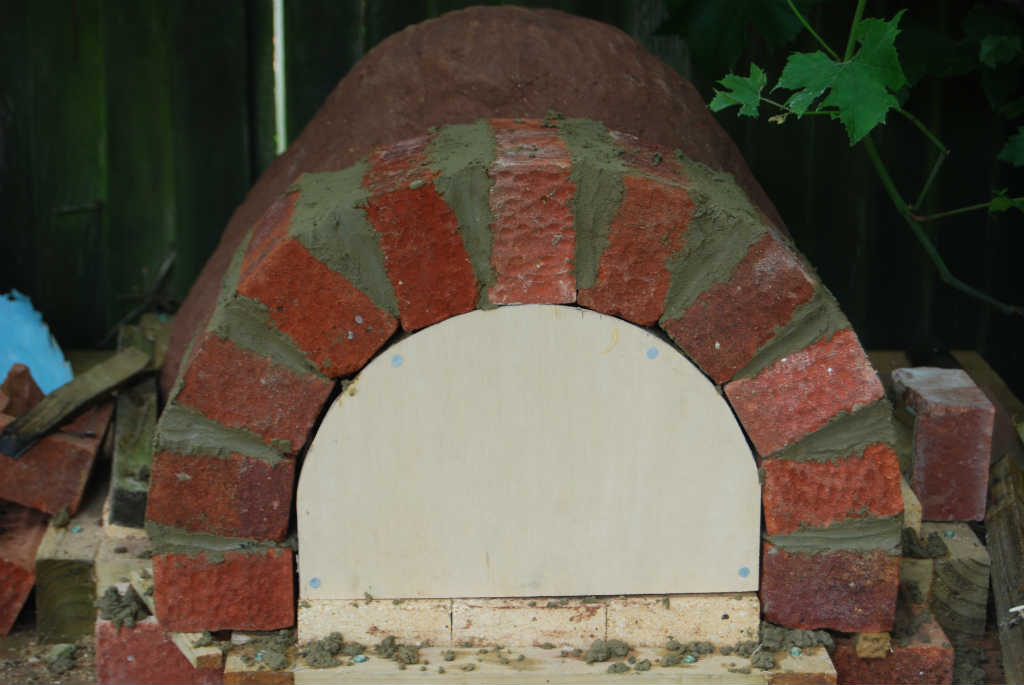
Let’s start with the entrance tunnel, which I built with the same bricks as I used on the plinth. They don’t need to be fire bricks as they are not subjected to the same temperatures as the main oven.
To make the tunnel I built a simple arch form out of old wood and cardboard, then bricked around this. Once again lots of examples how to do this on the internet. The size of the arch was roughly the same size as the opening I cut previously. I started by making a template out of paper and cut it to the size of the opening. I also checked to make sure the bricks would go around it without having to be cut (simple life for me!). Actually the bricks didn’t quite fit so I slightly increased the size of the arch. Next I transferred the paper template onto some old plywood I had lying around and cut out two of these shapes. I then created the form by joining these shapes together with some rough wood,iIt was then a simple case of placing the arch form at the oven entrance and bricking around this.
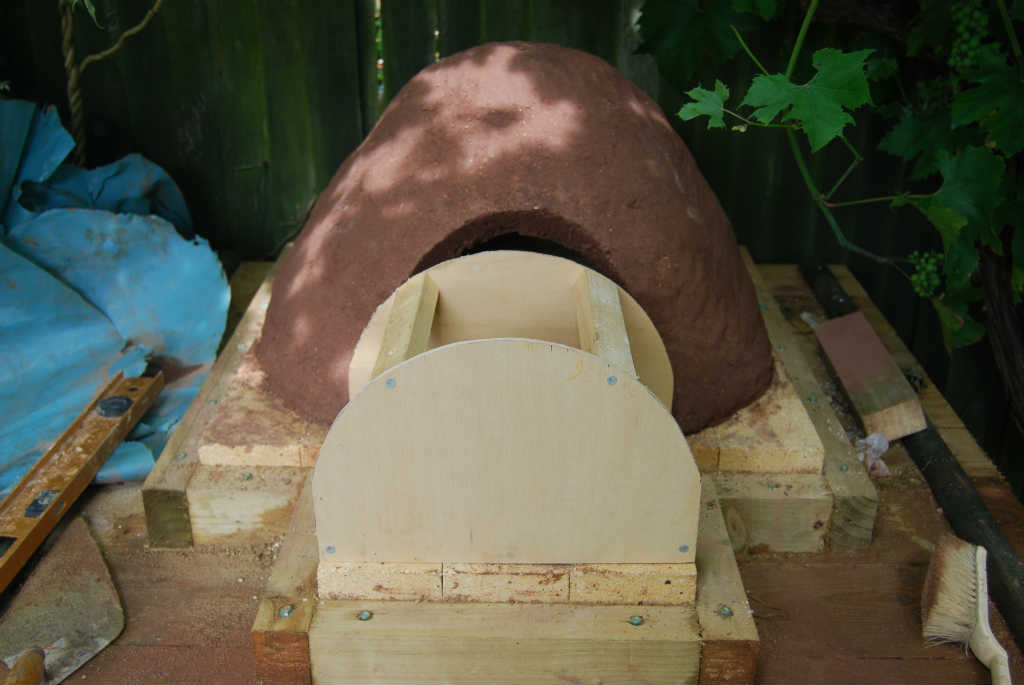

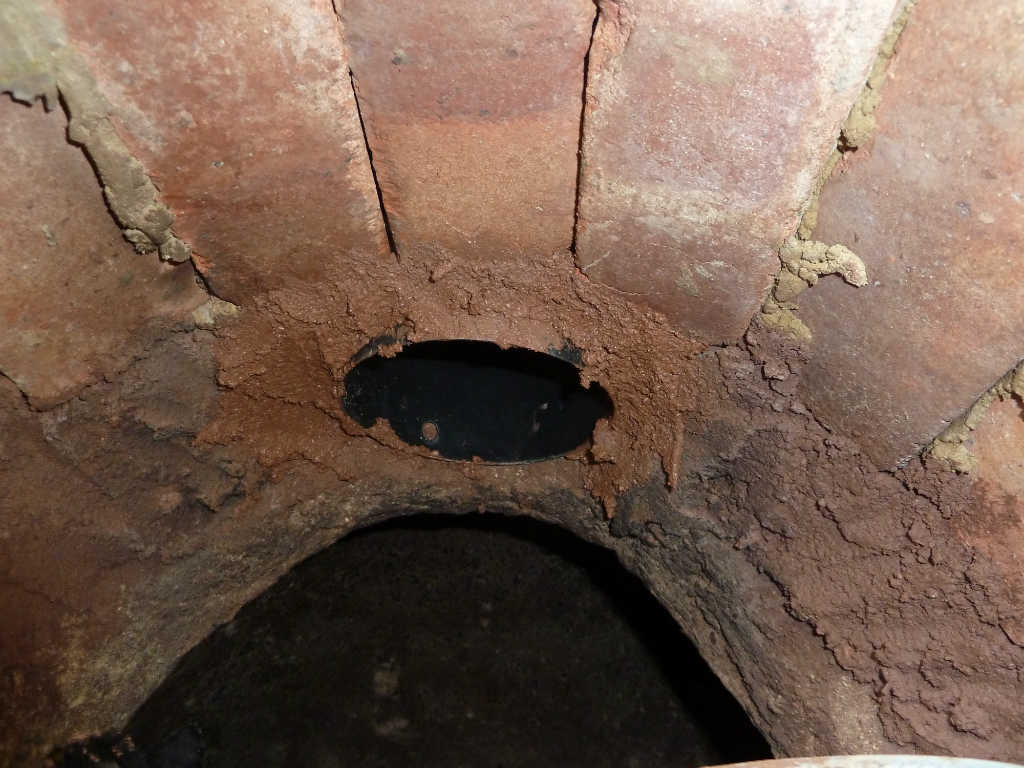
Note, that once completed you should have an opening at the top where the oven dome slopes away from the arch, basically your chimney opening. Now you could just fill the sides with clay/sand mix and leave it at that for the chimney. You will see lots of examples on the internet where people have done just that. I don’t know about you, but I don’t like smoke being channelled into my face when I am cooking. It is for this reason I decided to fit a proper chimney to take the smoke way above my head line. Also I wanted to make the oven look pretty and I think the chimney adds to the elegance. My clay oven is a feature of the garden and pleasant to look at. My own piece of Garden Art.
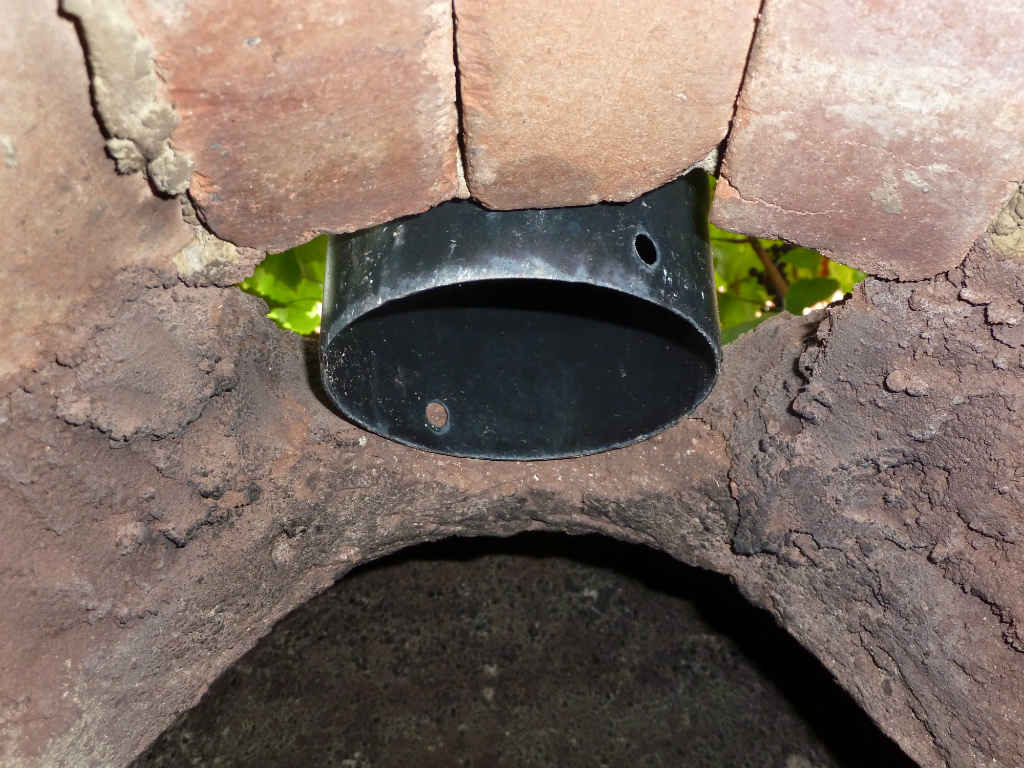
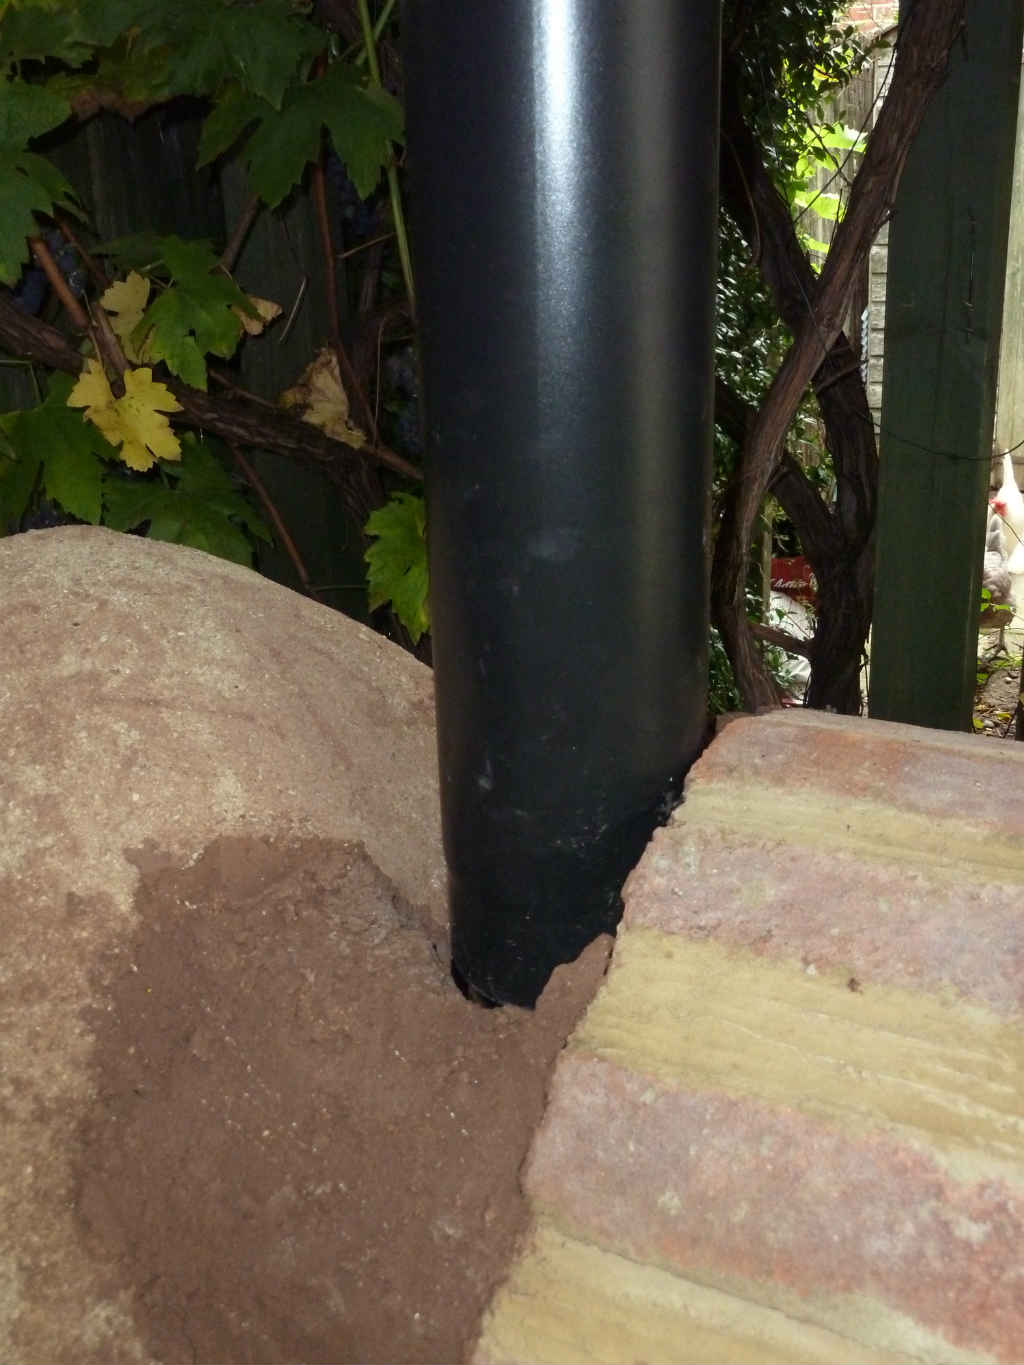
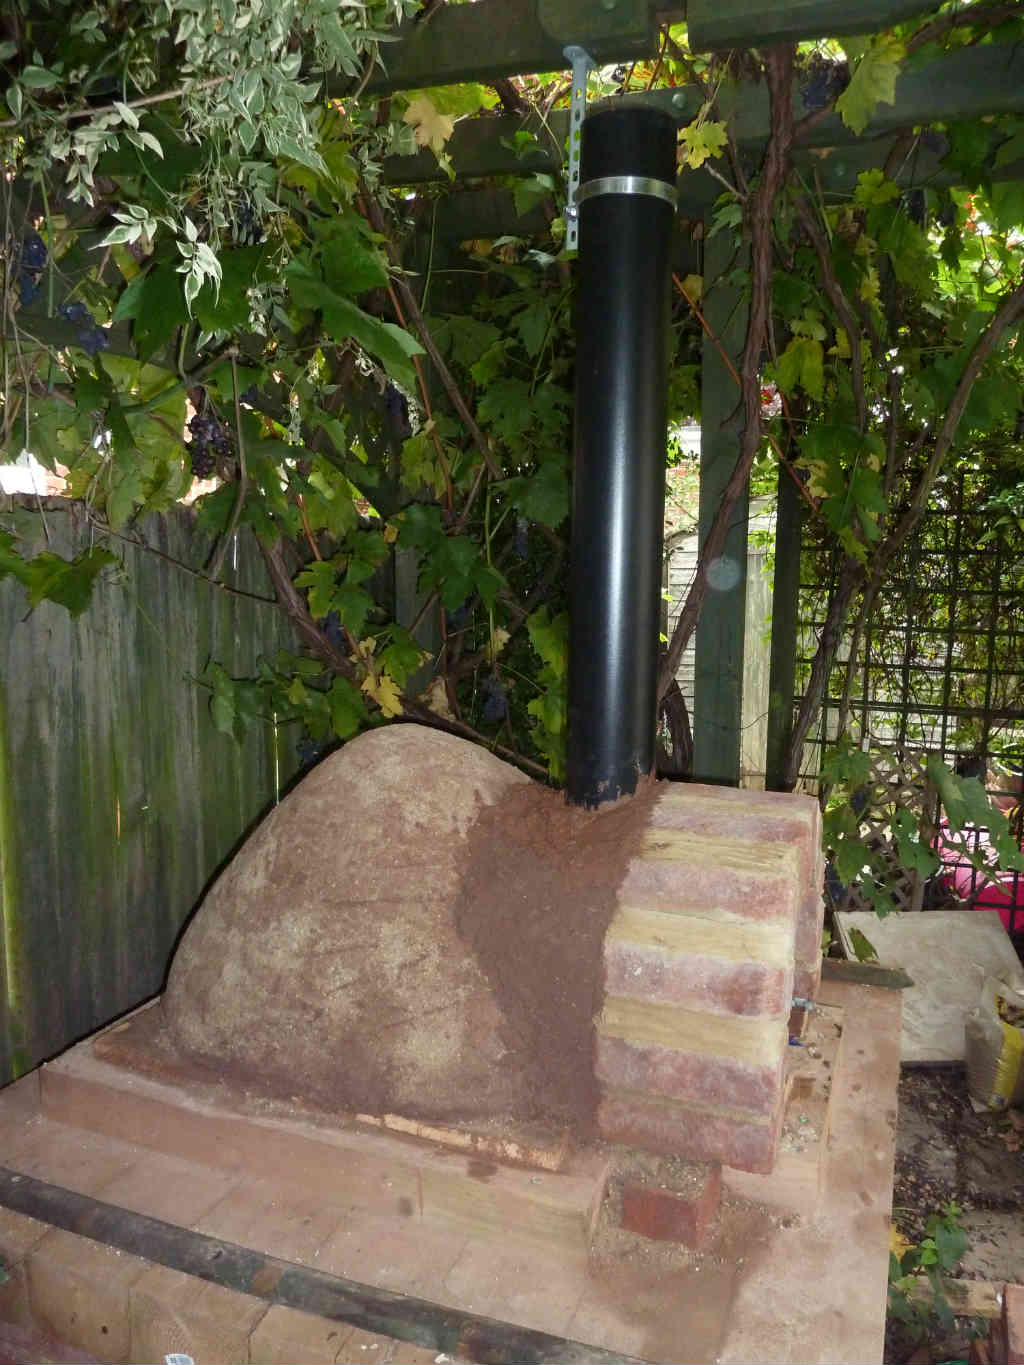
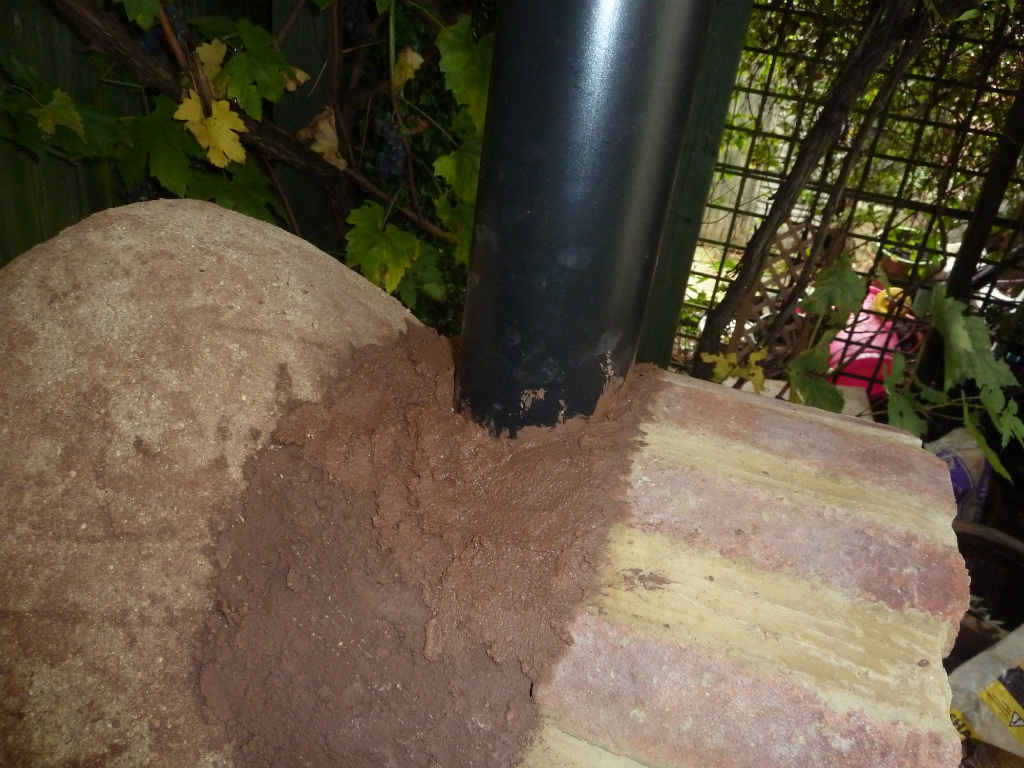
So for the chimney I decided to use a Vitreous Black Enamelled Flue Pipe, the sort of thing you see on a wood burner and can be found easily on eBay. I got a 1 meter 5” pipe which had never been used before for £20. I have seen them cheaper, but this one was relatively local to me. I started by hanging it from the pergola above, so it rested in the gap previously shown. Note it only hung there to be begin with until I had bricked around the it later to hold it in place. The final thing to was pack out the gaps between the tunnel, oven and chimney with the same clay/sand mix.
Time for another light up! Start with kindling lit in the tunnel below the chimney. Once established add more kindling and slowly push the fire back into the oven. Now is the time to start adding the larger pieces of wood. If all has gone well you should have a roaring fire and smoke coming out of the top of your chimney. If it hasn’t gone well – DUFFER!
OK you are now ready for the next stage where we insulate your oven.
Series Link
1. Design
2. Base
3. Oven Floor
4. Core Oven
5. Entrance & Chimney
6. Insulation
7. Protecting the Oven
8. Lessons Learnt
9. Living with the Oven
10. Conclusion and what’s next
Recent Comments