Pizza Oven with Naples Style Dome
Remember I went with a Naples Style Dome as I wanted a lower roof. I was hoping it would heat up quicker, and also make better Pizza, as we all know that the best Pizza comes from Naples.
First I started with the side walls of the dome, and this really is easy to do as we just standup bricks around the edge. The only complicated bit is deciding on what the opening is going to look like, and how you are going to cut the bricks in. As always a big mug of tea, and just start laying out the bricks so you can imagine how it will look. The eagle eyed ones amongst you will have noticed that I increased the size of my opening. I originally went with just three bricks, but during this phase I decided to increase it to four bricks. It is a trade off between how much heat you lose through the opening, and the size of the Pizza you want to cook. I actually took my wife’s largest baking tin, and made the opening wide enough so I could pass it through. I was already thinking of a slow roast lamb for Sunday Lunch.
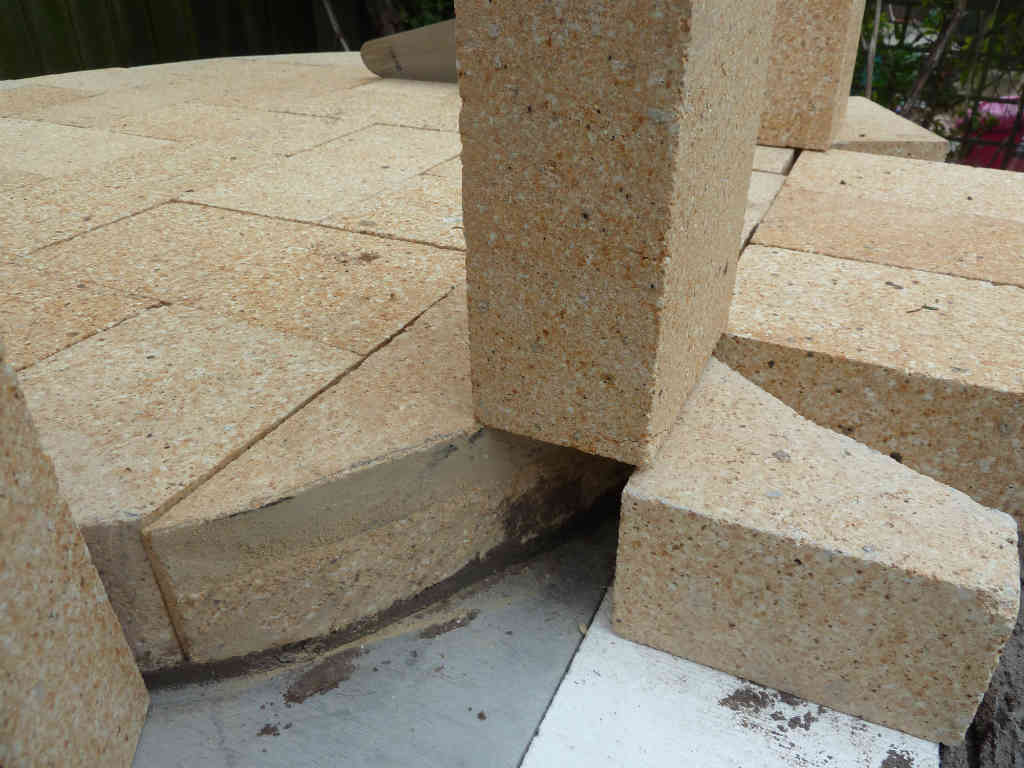
Once I had laid the side walls, I put on angled bricks on top to start the curve of the dome. For the dome I cut each of my fire bricks into three smaller bricks, and these were what I used to build the dome. But first I cut several of these diagonally across, and that is what created the original angles curve. The reason I cut my bricks in thirds was to save cost, the bricks are very expensive and I wanted to go further.

Frame to build dome
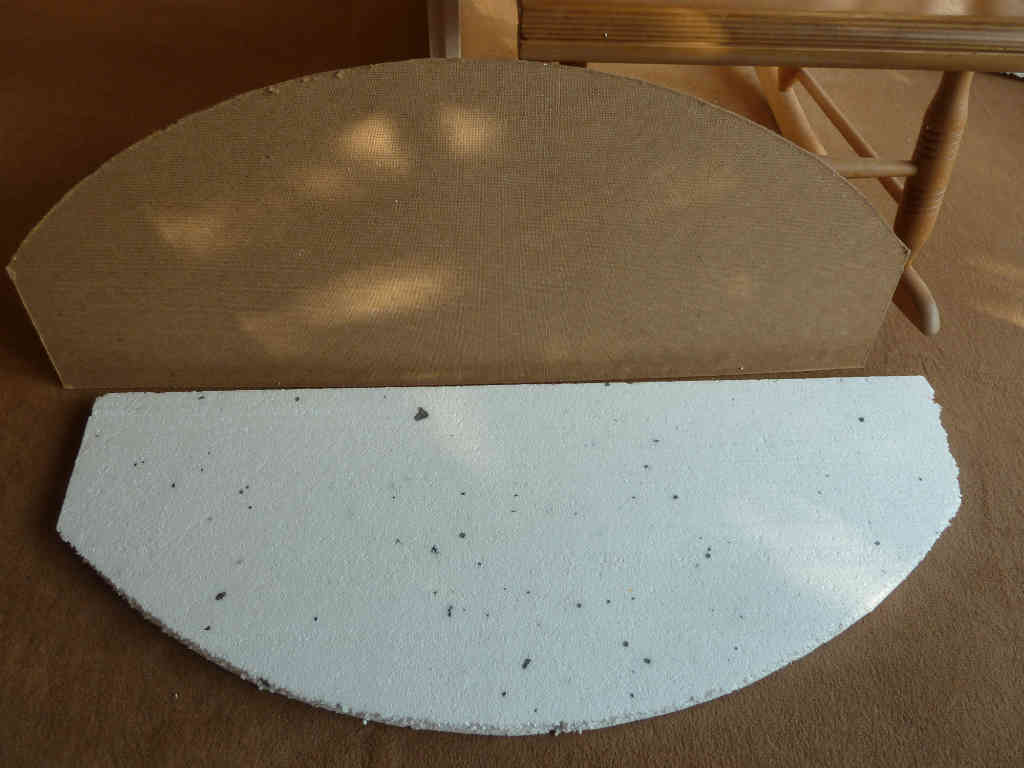
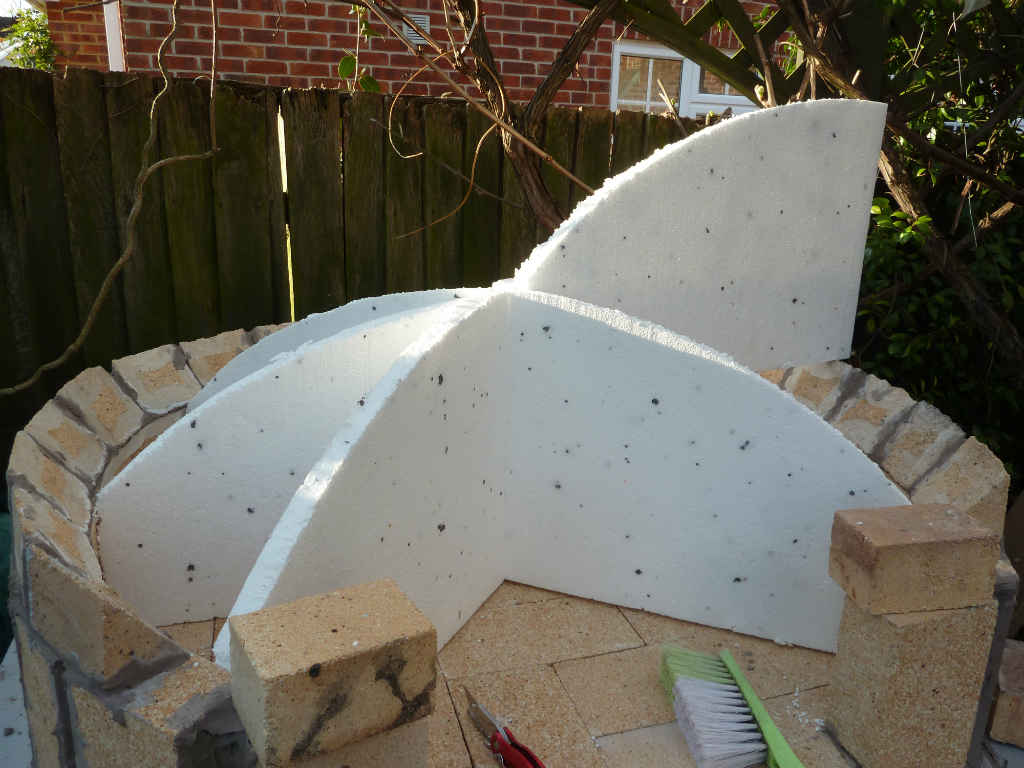
Now there are several ways to brick the Dome. If you are a skilled bricklayer you can do it freehand, but then that is not me. On the internet there are lots of examples of people building a simple contraption to hold each brick in place as you go around. Tempting as this was, I decided to go with the simple solution of building a frame I could brick over. Once again there are lots of options, you could use the sand castle method I used in the clay oven, or a simple wicker frame, or some people use an inflated exercise ball. For me I went with a simple frame made of polystyrene. The advantage is it is quick and easy to build the dome, but on the negative side it doesn’t give such a beautiful l inside to the oven. Personally I wasn’t planning on the putting my head in the oven, so that wasn’t an issue for me. Saying that I still think it looked beautiful, just checkout one of my pictures later on.
For the frame I used a piece or hardboard as template and then cut out the polystyrene. I went with a height of 14 1/2 ” or 37 cms, and to get the angle I used the pencil on a piece of string trick.
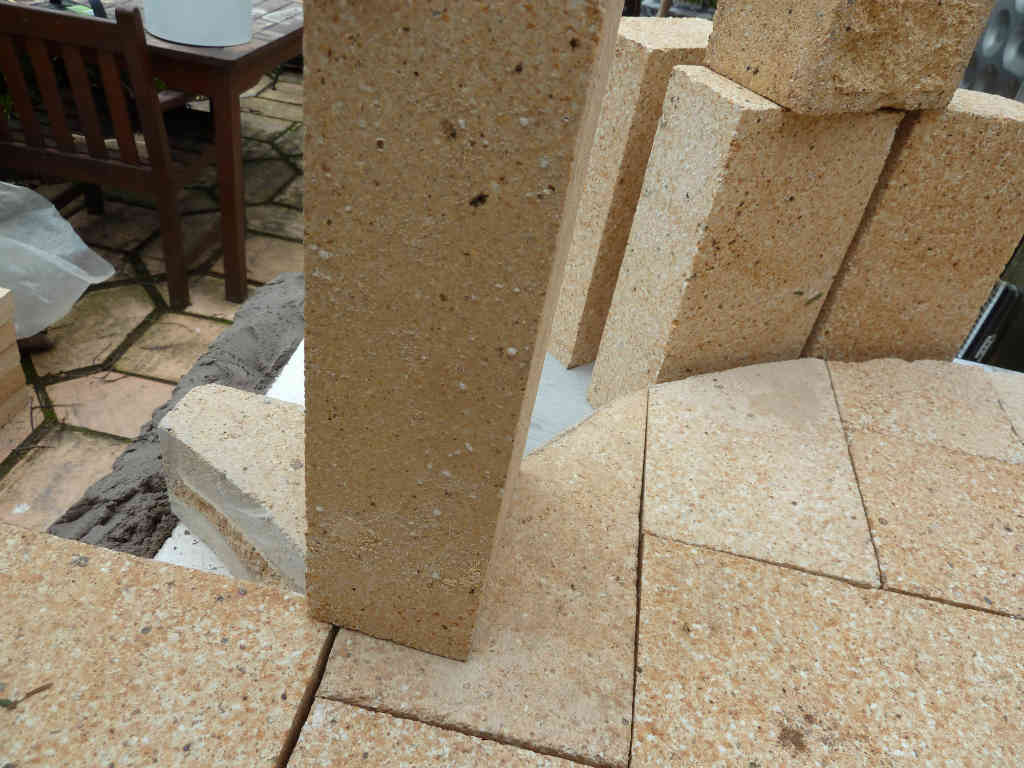
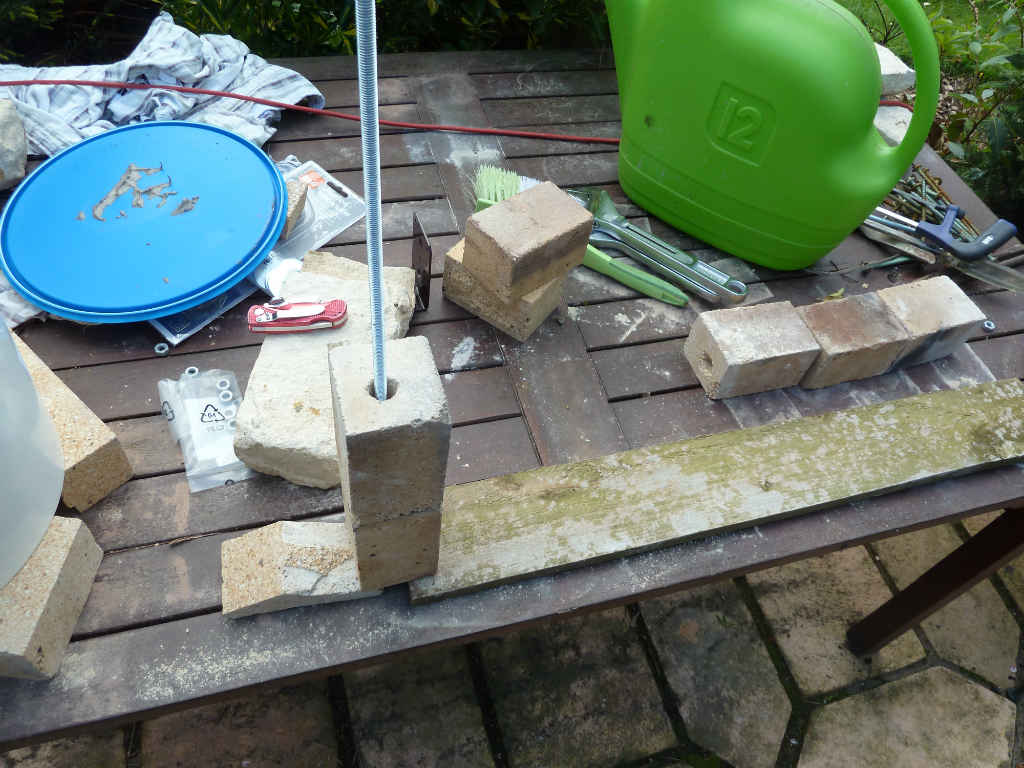
I was now ready to start laying the dome, but first I needed to decide on the opening and how the dome would join to it. For this I built a simple brick lintel. I drilled a hole through each brick and thread a metal bar down the middle. Then put a washer and bolts at either end to keep it tight so it would not move. Simple and very effective.

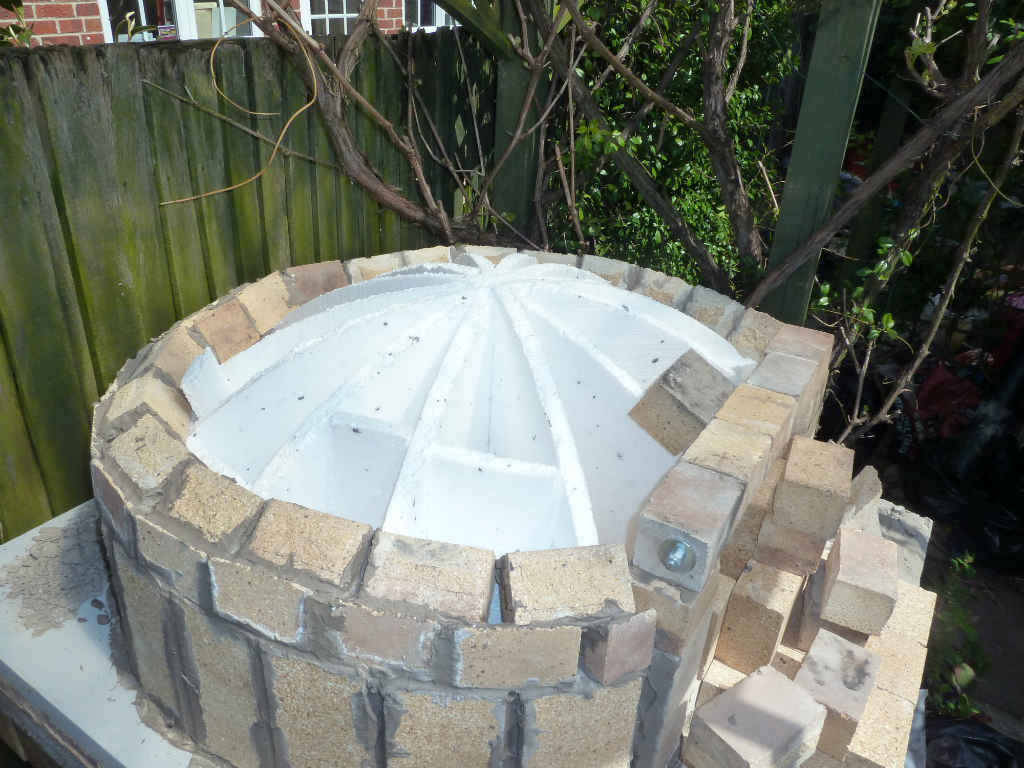
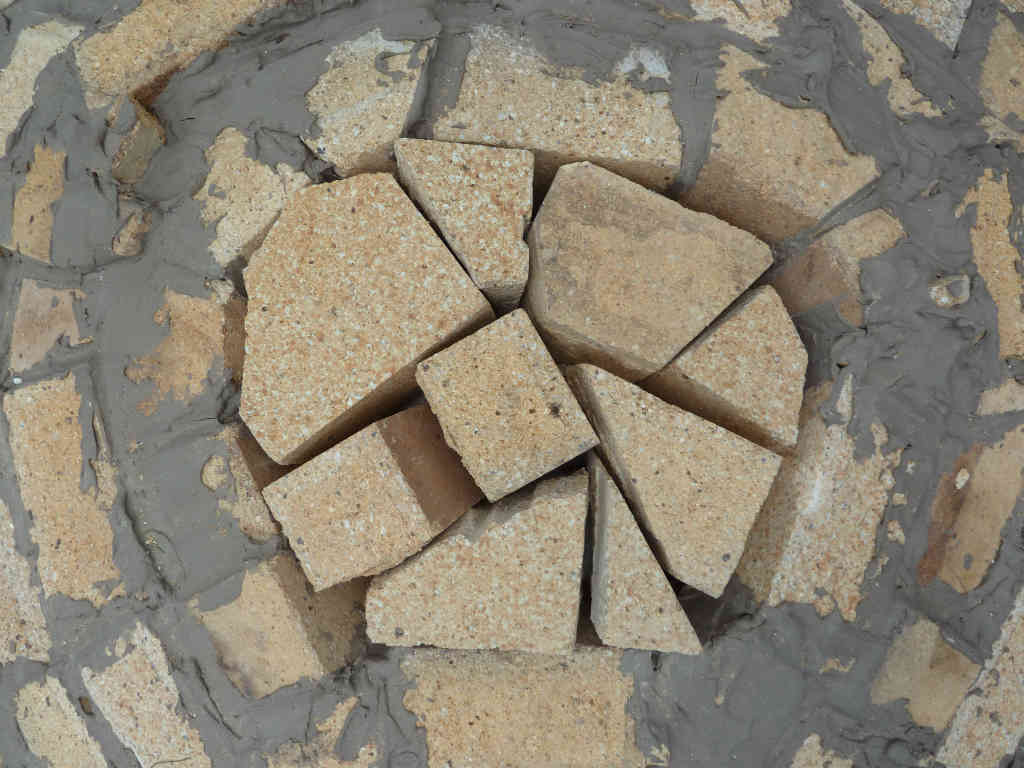
Now comes to the exciting bit as the dome starts staking shape. I lay each course dry to begin with to make sure everything fits snug. The higher you get the tighter the angles become and you will have to start cutting some of the bricks. You are going to be gluing the bricks, but it is important that all the bricks fit tight against each others. Basically want each brick to be supporting the ones around it, so the Dome supports itself when you take the supporting frame away. Remember I went for a Naples style dome, so low with a very tight angle. When you come to the top of the dome it is worth taking your time to make sure everything fits snug. These last bricks are the ones that hold everything in place, so don’t rush this bit.
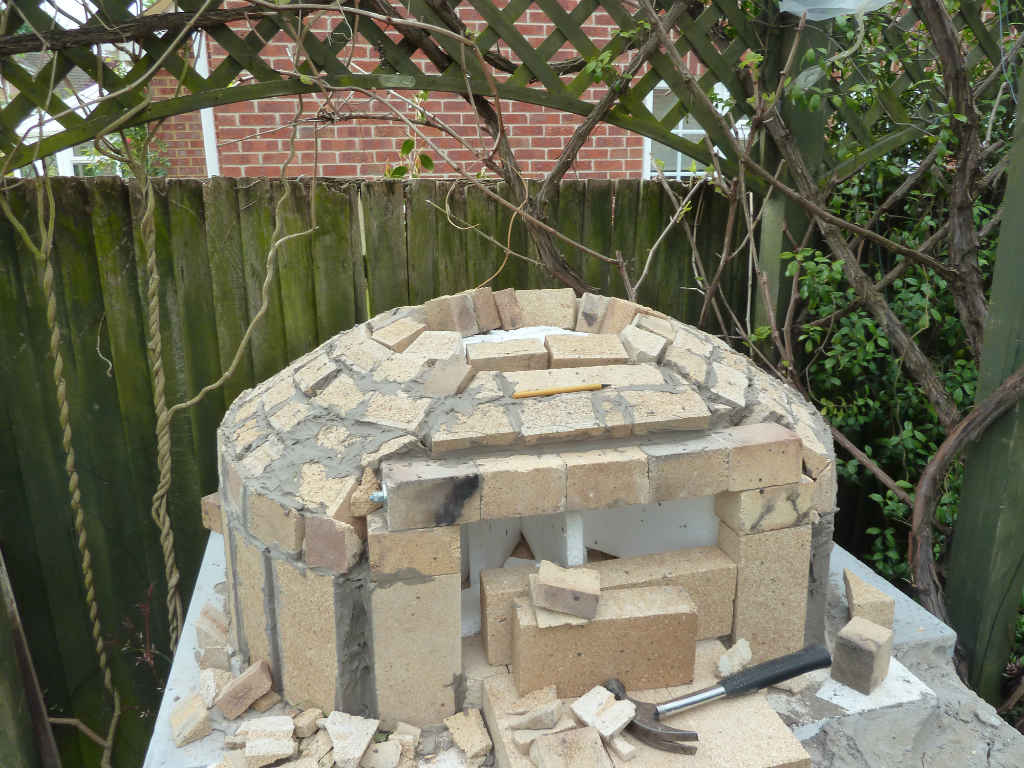
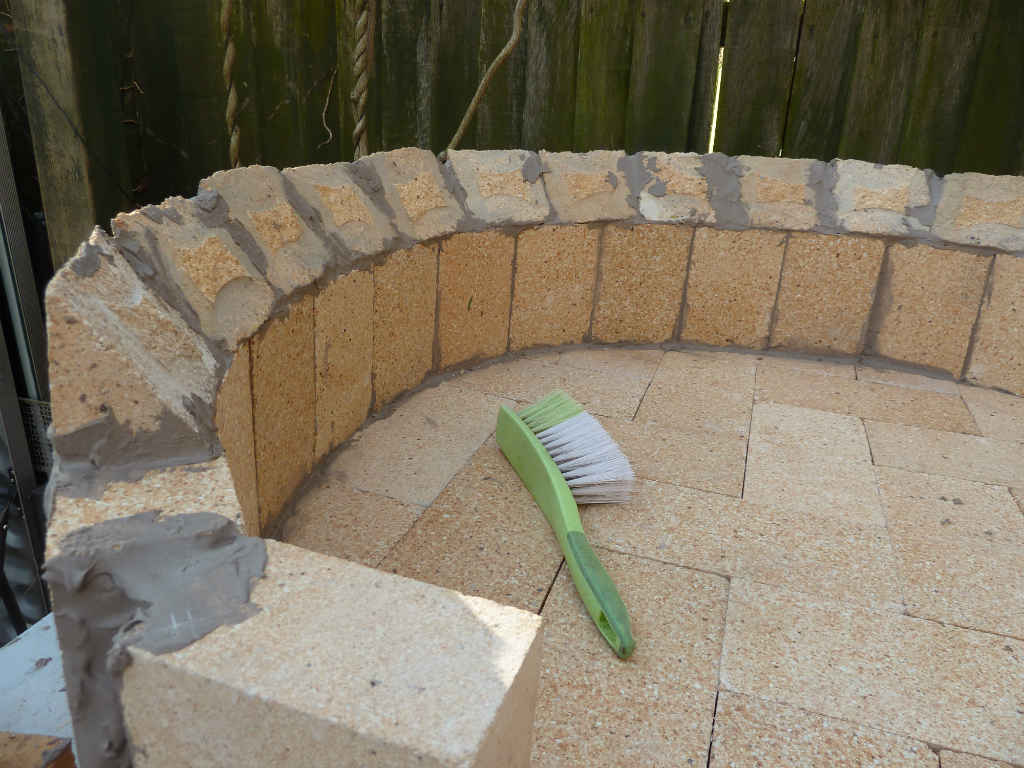
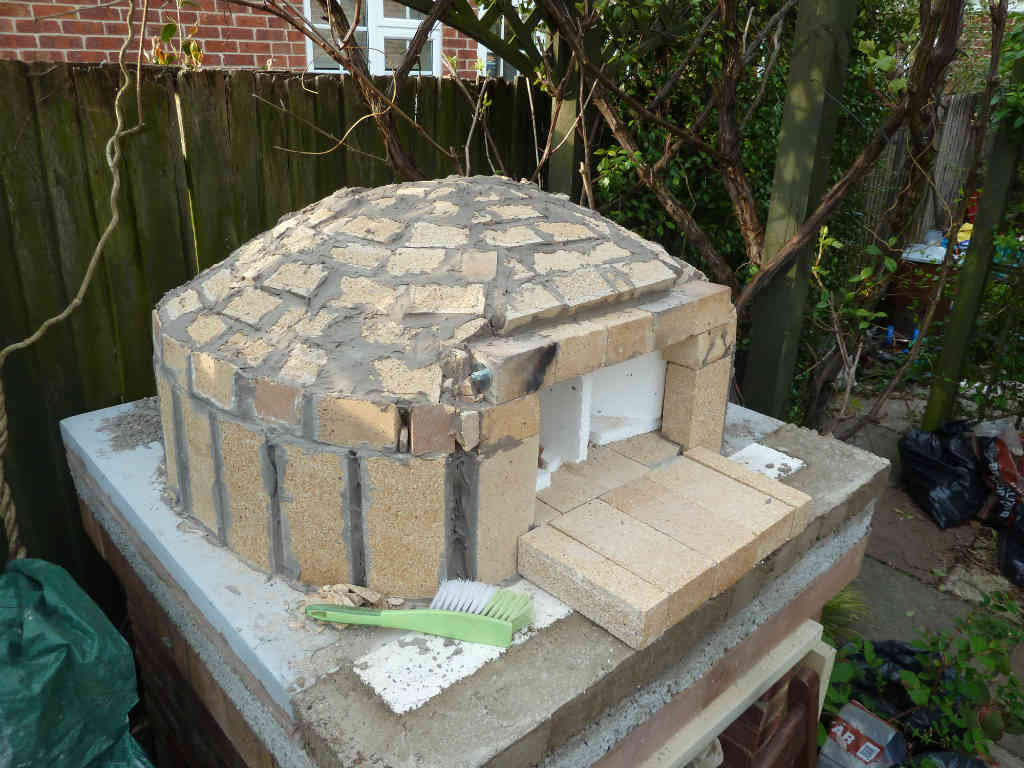
And here you have the final oven and the picture on the right shows what it looks like once the frame is taken away. Note how low the roof is and that the roof hasn’t collapsed.
Now I said earlier that using the frame means you don’t get such a pretty looking inside to the oven, but I am more than happy with the result. As I said earlier I don’t plan to spend most parties with my head in the oven. For me the beauty is on the outside and in the cooking.
-

- Brick Pizza Oven

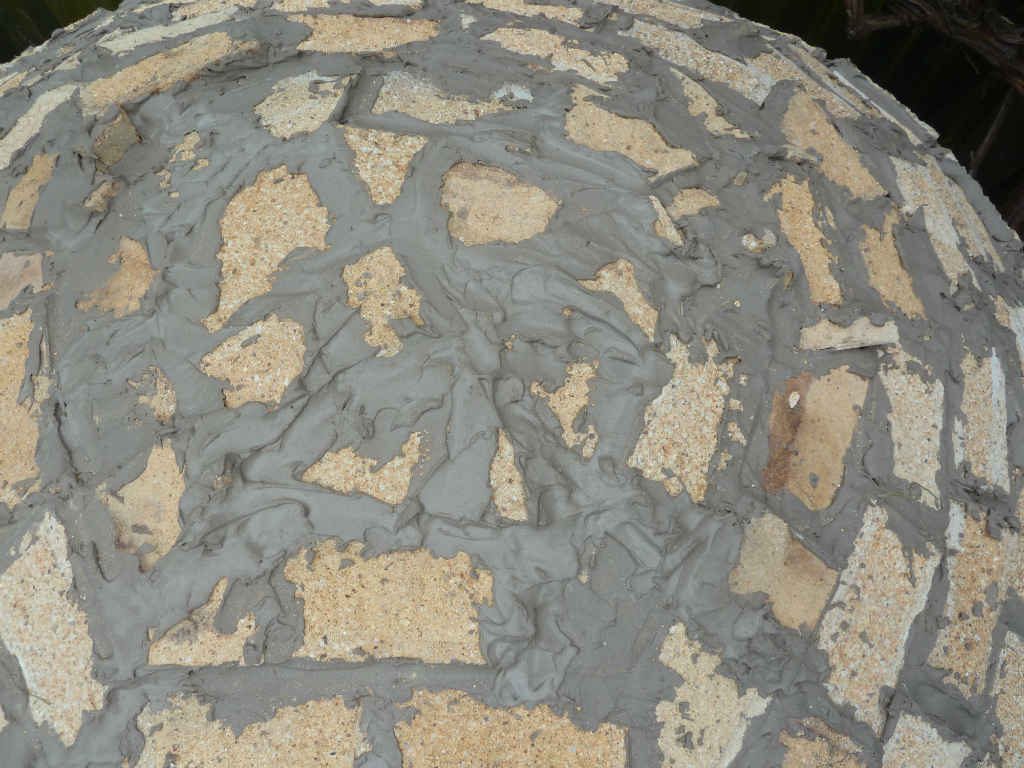
I should point out that after I removed the frame I could see the inside bricks for the first time. I some places there was glue that had squeezed out of the cracks, so I just chiselled these off to make it look nicer. Also some of the bricks had gaps where the adhesive was missing. I filled these gaps by make an icing bag as in cake decorating, and squeezed adhesive into the gaps. That is the finish you see above.
Series Links
1. Introduction
2. Base
3. Naples Dome
4. Entrance & Chimney
5. Insulation
6. Outer Layer
7. Best Clothes
Recent Comments