Pizza Oven Decoration
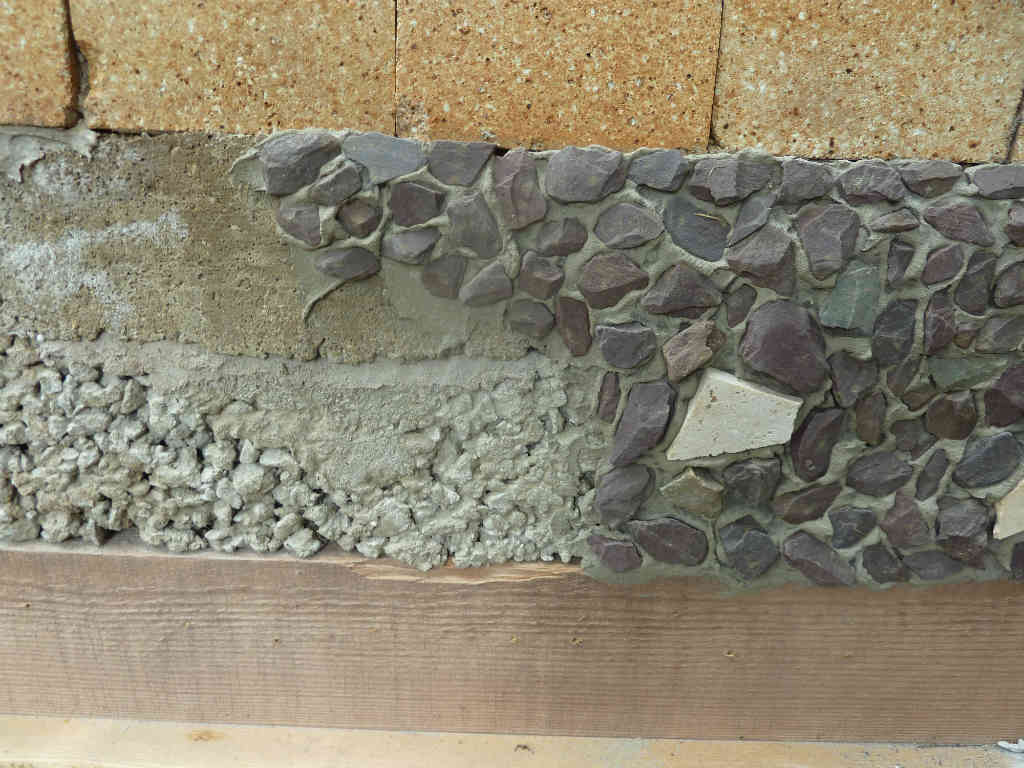
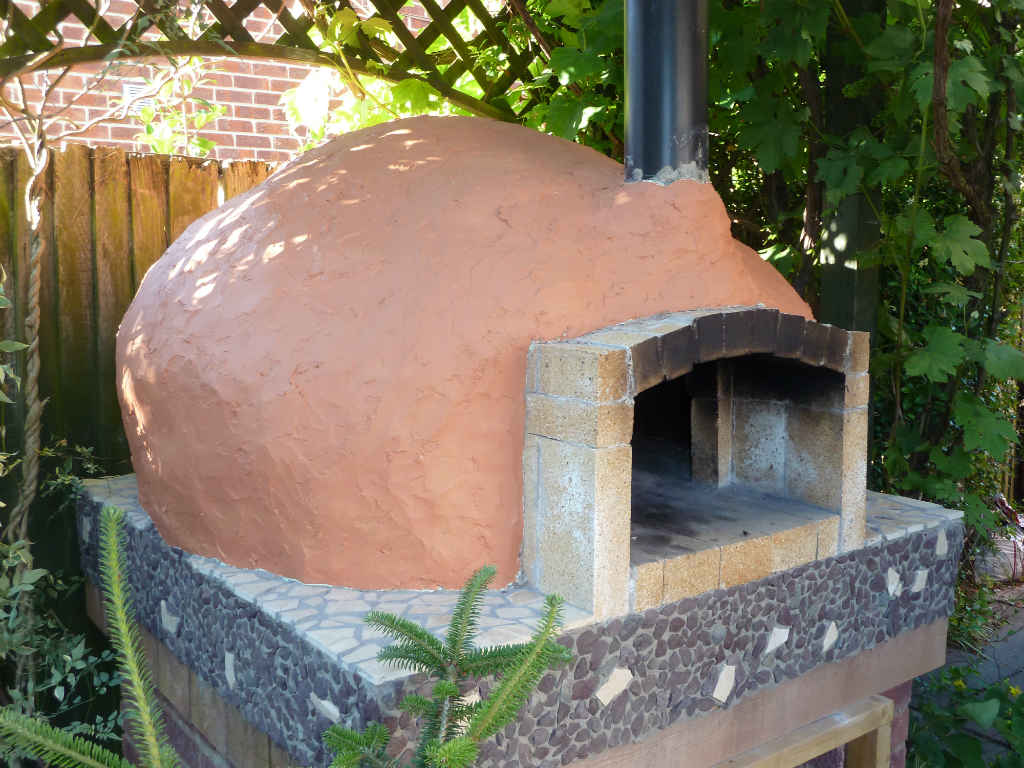
OK time to jazz this lady up. Let’s be honest the base did not look pretty, so that is where I started first. As all ways I wanted to do things simply so I just spread mortar over the base and then pressed slate chippings into this. I used the same slate chippings around my Palms, so everything flows together. This really was as easy as it sounds to do. Actually it was quite therapeutic.

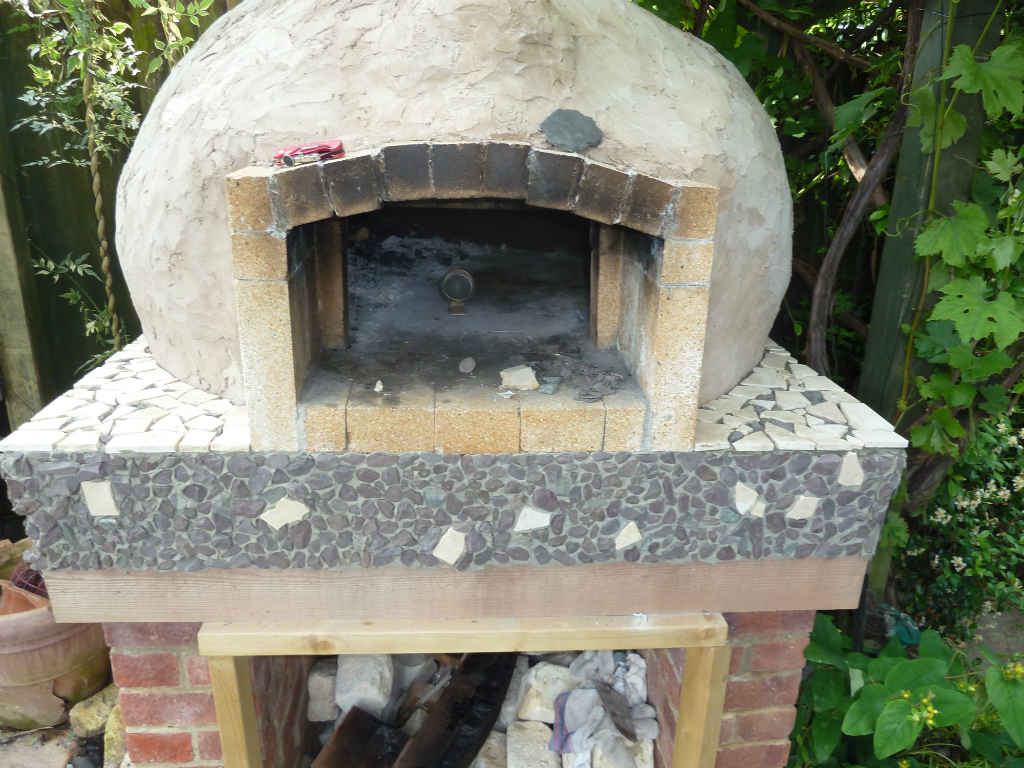
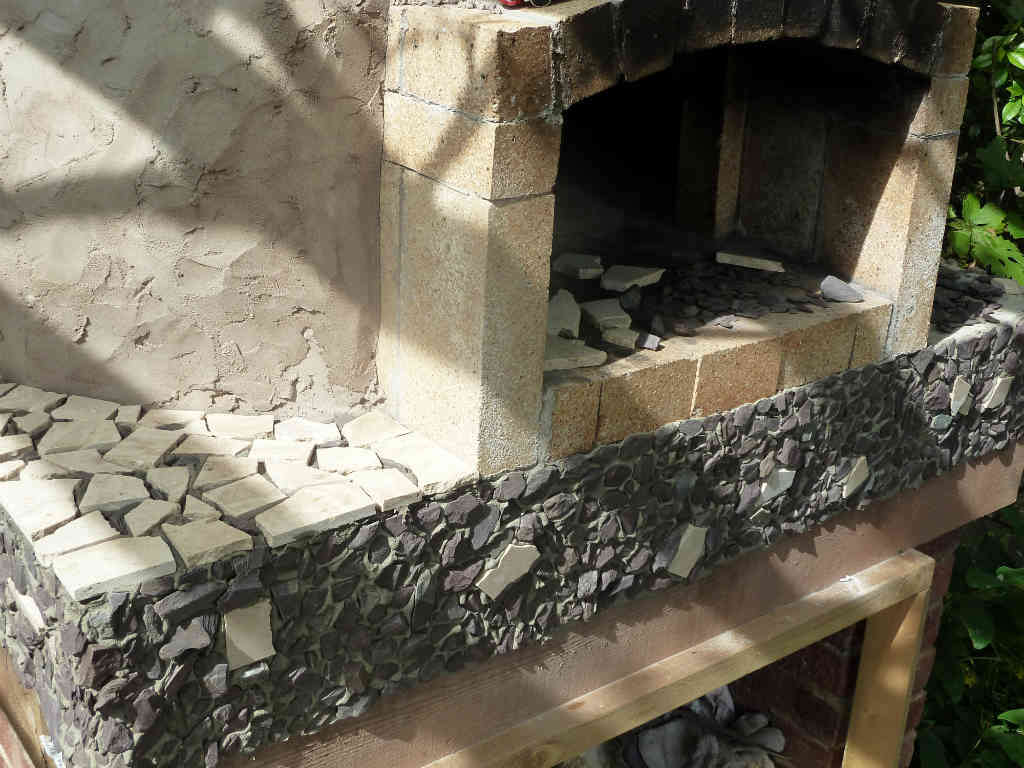
Next came the top part, and I didn’t want to use the slate chippings as I wanted a flat surface for putting drinks on. For this I brought a couple of end of range tiles in the sale, and preceded to smash them up. With the broken pieces I created a crazy paving effect on top. Notice I used some of the pieces of tile around the edge to pull everything together.
Next came the oven, and I could have gone for a mosaic tile pattern, but instead went for the easy solution of a lick of paint. I initially went for a light green as I thought that would go well in the garden, but it looked terrible. I then went with a white, nice and Mediterranean, but that looked too harsh.
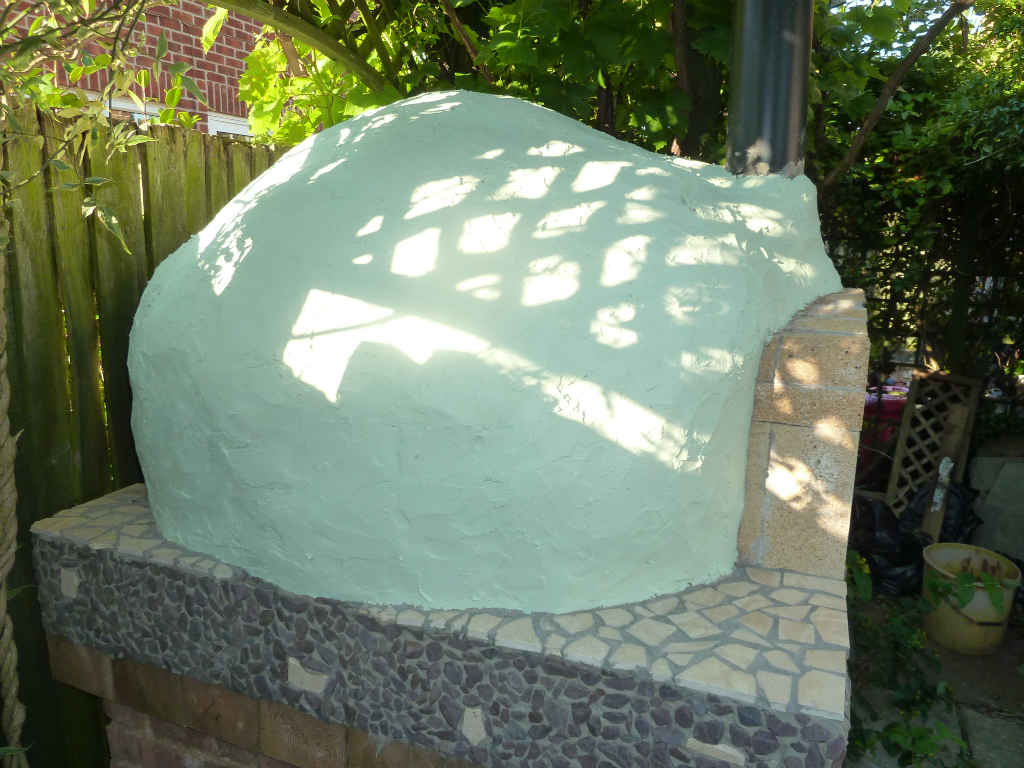

I finally went with terracotta and it looks lush in the garden.
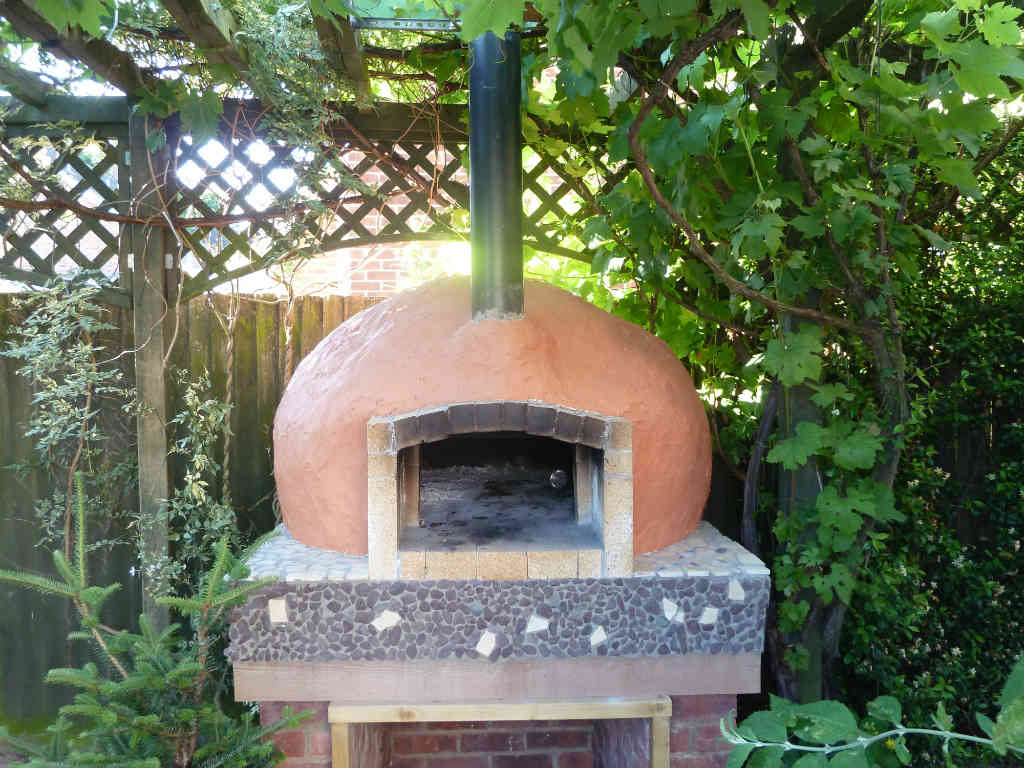
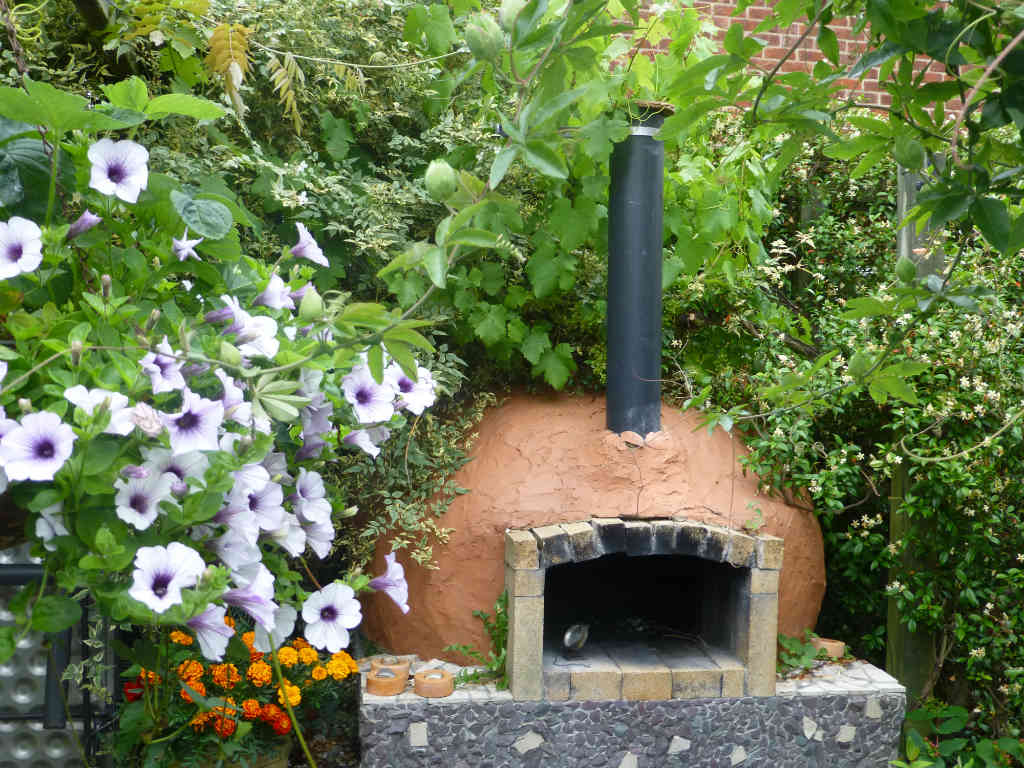
Now a couple of pictures taken from a different angle in the garden. The last picture was taken a couple of years after the oven was built, and shows how it has blended into the garden. If you want to know how it is performing some years later, then watch the video.

Series Links
1. Introduction
2. Base
3. Naples Dome
4. Entrance & Chimney
5. Insulation
6. Outer Layer
7. Best Clothes
Recent Comments